How to Make a Personalized Coloring Book at Home
Making a coloring book at home often feels more meaningful than buying one from a store.
You can choose pictures based on a child’s favorite animals, hobbies, places, or activities. You can also add the child’s name, include pages connected to a birthday or family trip, and adjust the difficulty to match their age.
You do not need professional printing or fancy equipment to make your book. A home printer, some coloring pages, and a basic way to bind them will do the job.
This guide will take you through each step, from planning your theme to making the cover and putting the book together.
Begin With the Person, Not the Pages
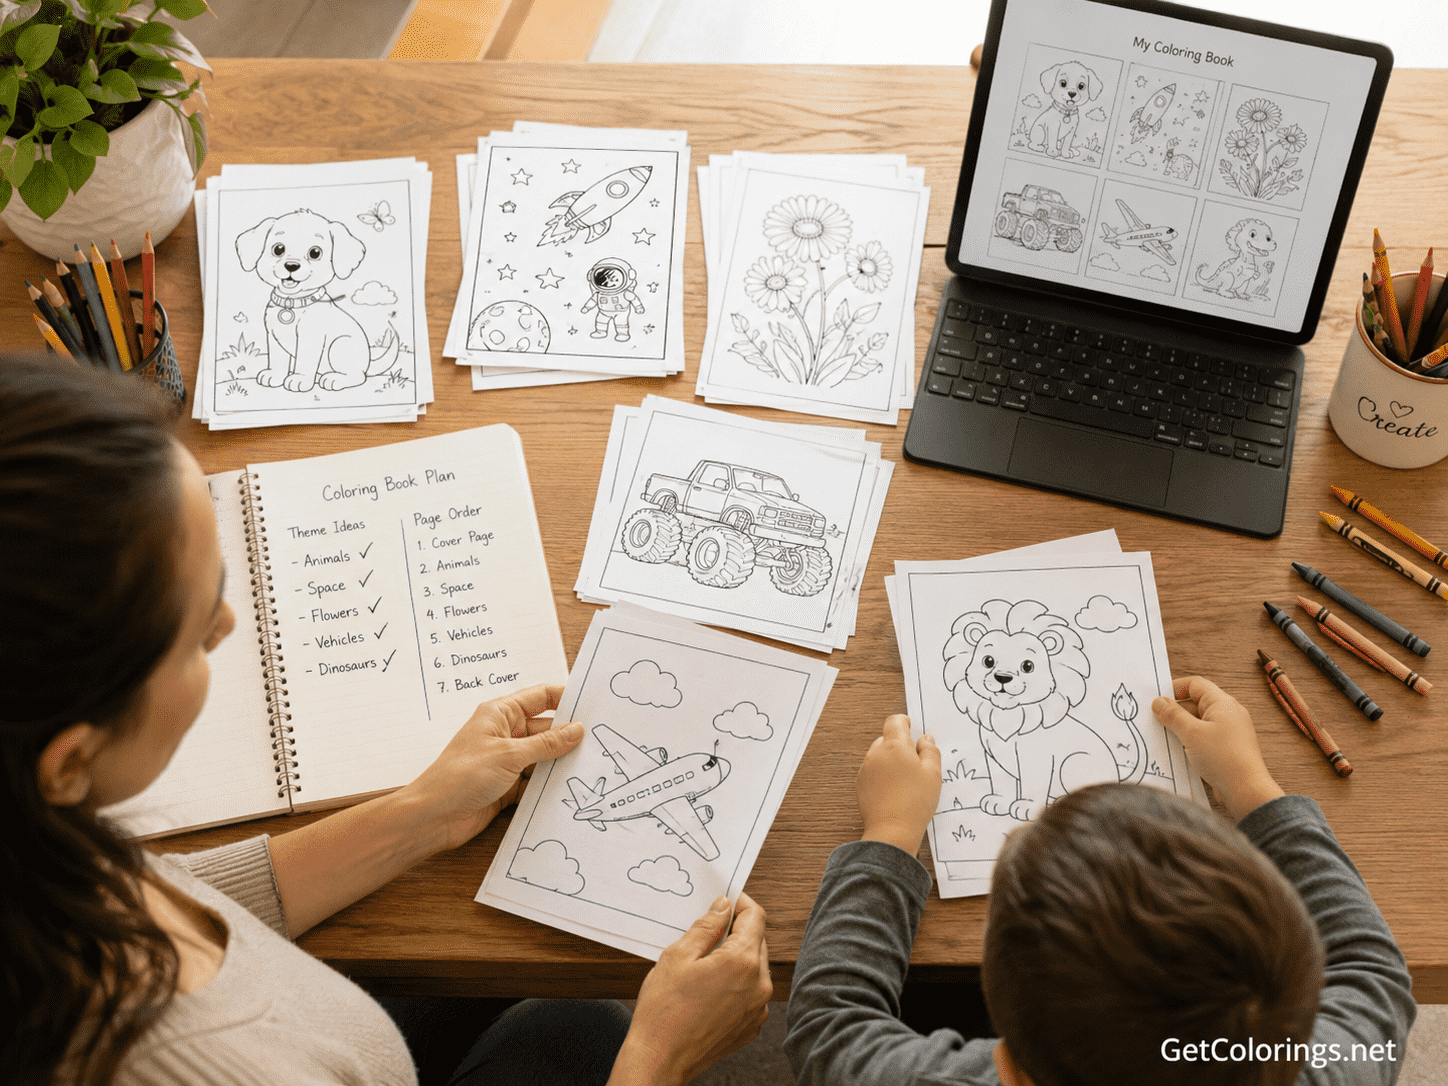
Before downloading any pictures, think about who will use the coloring book.
A personalized book should match the child’s interests, not just be a random group of printable pages.
Consider:
- The child’s age
- Favorite animals or characters
- Current hobbies
- School topics they enjoy
- Preferred level of detail
- Whether the book is for everyday use, travel, or a gift
- What coloring tools do they normally use
Preschoolers often like big pictures of farm animals, fruit, vehicles, or simple shapes. Older kids might enjoy more detailed scenes, like nature, fantasy, buildings, fashion, or patterns.
When you are uncertain about difficulty, use the advice in How to Choose the Right Coloring Pages for Your Child’s Age. A good book should contain pictures that feel interesting without being frustrating.
Choose One Main Theme
Choosing a clear theme helps your homemade coloring book feel more thoughtful.
Try to focus your book on one subject or story, instead of mixing unrelated pictures.
Possible themes include:
Animal book
Include pets, farm animals, jungle animals, birds, and sea creatures.
Space adventure
Use rockets, planets, astronauts, stars, satellites, and imaginary alien worlds.
Things that move
Combine cars, trains, airplanes, boats, trucks, bicycles, and construction vehicles.
My favorite things
Choose pictures connected to the child’s favorite food, toys, animals, sports, and activities.
Alphabet book
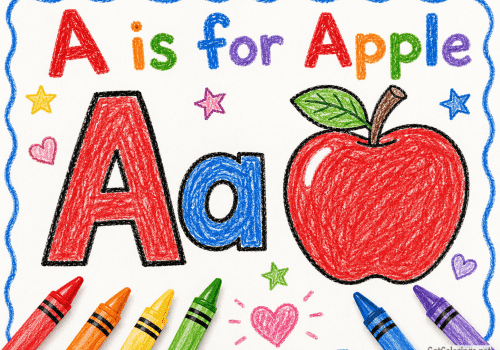
Use one large letter and a matching object on each page.
Vacation memory book
Include beaches, mountains, airplanes, hotels, landmarks, and activities connected to a recent trip.
Birthday coloring book
Add cakes, balloons, gifts, party hats, numbers, and pages featuring the child’s age.
Nature book
Use flowers, trees, insects, weather, forests, and seasonal scenes.
You can also create a simple story. For example, a space book may begin with a child preparing a rocket, continue through several planets, and end with a safe return home.
Decide How Many Pages to Include
Your homemade coloring book does not have to be very long.
For most children, a book containing 12 to 20 coloring pages is enough. Younger children may prefer a shorter book with eight to twelve simple pictures.
A practical structure could be:
- 1 front cover
- 1 name or ownership page
- 12-20 coloring pages
- 1 free-drawing page
- 1 back cover
Do not add extra pages just to make the book bigger. A well-chosen set of 15 pictures is often more fun than a folder with 50 similar images.
Build Variety Without Losing the Theme
Even when every page follows the same subject, the designs should not all look alike.
For an animal book, you might include:
- One large animal
- An animal family
- An animal in its habitat
- A simple animal scene
- A page with several small animals
- A pattern made from paws or feathers
- A page where the child adds a background
This way, the child gets different coloring experiences, but the book still feels connected.
You can also gradually vary the difficulty. Place the easiest pages near the beginning and the more detailed pictures toward the end.
If the child is still practicing control, see How to Teach a Child to Color Inside the Lines Without Pressure for ideas on using thick outlines, large spaces, and manageable designs.
Add Personal Details
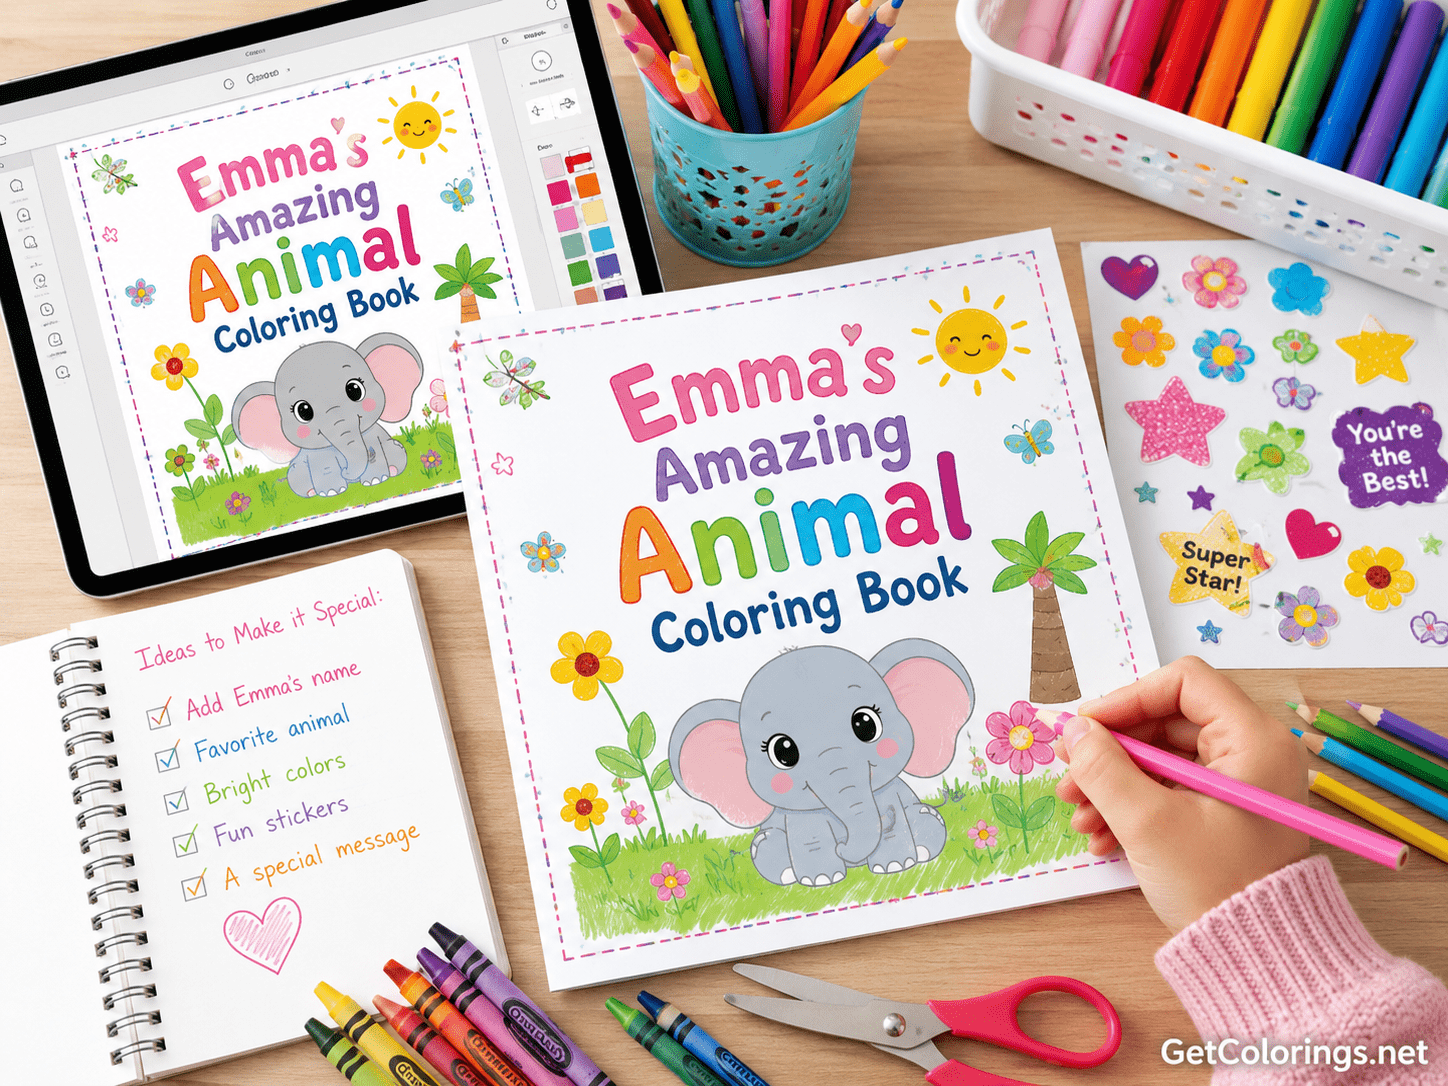
Personalizing the book can be easy.
You do not need special design software to make your book unique.
Try adding:
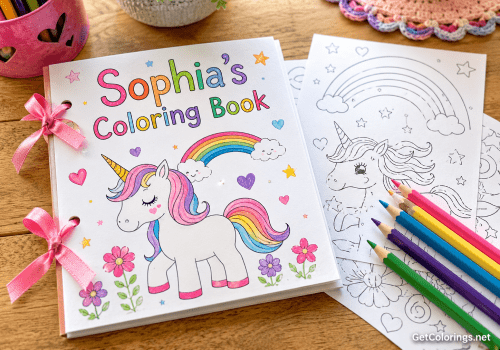
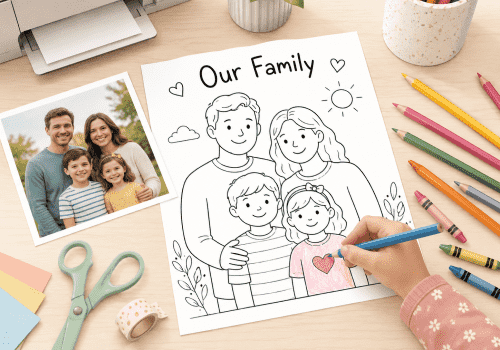
- The child’s name on the cover
- Their age
- A short dedication
- A favorite color in the cover design
- A birthday date
- A family name
- A custom title
- A small message on the first page
- Blank areas for the child to add drawings
- Questions connected to each picture
Possible titles include:
- Emma’s Amazing Animal Coloring Book
- Daniel’s Space Adventure
- My First Dinosaur Coloring Book
- Sophia’s Birthday Coloring Book
- My Favorite Things to Color
A simple first-page message might say:
This coloring book was made especially for you. Choose any colors you like, add your own ideas, and have fun creating every page.
You can type the title on your computer or write it by hand after you print the pages.
Include More Than Standard Coloring Pages
A personalized book becomes more engaging when it includes a few interactive pages.
Add one or two of the following:
- Draw your own picture
- Finish the background
- Design a new outfit
- Add more animals to the scene
- Create your own vehicle
- Draw what happens next
- Color and name the character
- Write a short story about the picture
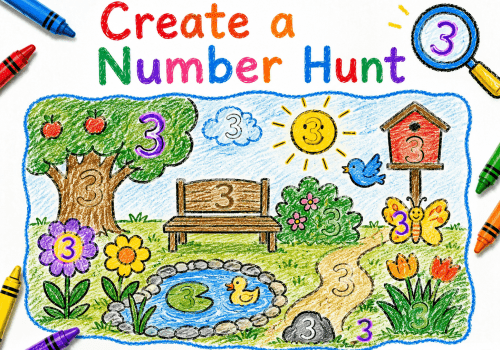
- Find and color hidden objects
- Create a pattern inside a large shape
These kinds of pages let the child be more creative.
Coloring can involve decision-making, storytelling, hand control, and visual attention. You can learn more about these opportunities in What Skills Can Children Practice Through Coloring? A Parent’s Guide.
Prepare the Files for Printing
Once the pages are selected, save them to a single folder and arrange them in the order you want.
Rename the files clearly:
- 01-cover
- 02-name-page
- 03-lion
- 04-elephant
- 05-giraffe
Numbering your files helps you keep them in order when you print.
Before printing the full book, check:
- Image quality
- Page orientation
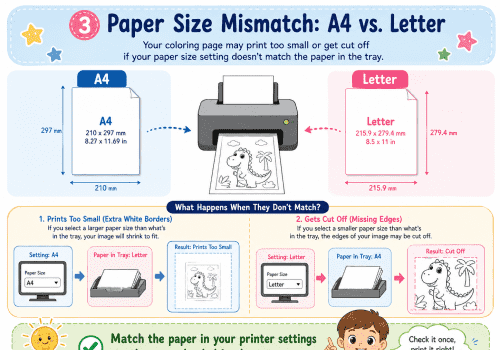
- Paper size
- Margins
- Whether any picture is cut off
- Whether the outlines are dark enough
- Whether all pages use a similar size
Most coloring books look more consistent when every page uses the same orientation. Portrait format is usually easiest, although a landscape book can work well for wide scenes.
For detailed printer settings, follow How to Print Coloring Pages at Home.
Choose Paper Based on the Coloring Tools
Ordinary printer paper is suitable for crayons and colored pencils.
However, thicker paper may be better if:
- The child presses firmly
- Markers will be used
- The pages will be displayed
- The book is intended as a gift
- You want the book to feel more durable
A simple paper plan is:
- 75-80 gsm paper for everyday crayons and pencils
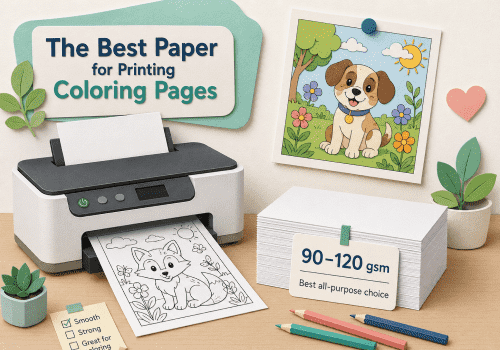
- 90-120 gsm paper for a stronger book
- Cardstock for the front and back covers
Markers can soak through thin paper. If you plan to use markers, print on one side only and put a blank page behind each picture.
The comparison in Crayons vs. Colored Pencils vs. Markers can help you match the paper and page style to the child’s preferred supplies.
Print One-Sided or Double-Sided?
One-sided printing is usually the safest choice for a coloring book.
This lets kids use markers without ruining another picture, and it is easier to take out or show off finished pages.
Double-sided printing saves paper but works best when:
- Only crayons or colored pencils will be used
- The paper is thick enough
- The child does not press too firmly
- The book is intended for short-term use
When printing double-sided, check how your printer flips the paper. Print two test pages before producing the entire book.
Create a Cover That Feels Special
The cover is the first thing the child will see.
Make the cover clear and cheerful, not too busy.
A good cover can contain:
- The book title
- The child’s name
- One large illustration
- A short subtitle
- The year or occasion
For example:
Lucas’s Dinosaur Adventure
A Personalized Coloring Book Made Just for You
If you can, print the cover on cardstock. You can also add a clear plastic sheet on top to make it last longer, but that is up to you.
Allow the child to color the cover, or print a partially colored version for a more finished-looking gift.
Choose a Simple Binding Method
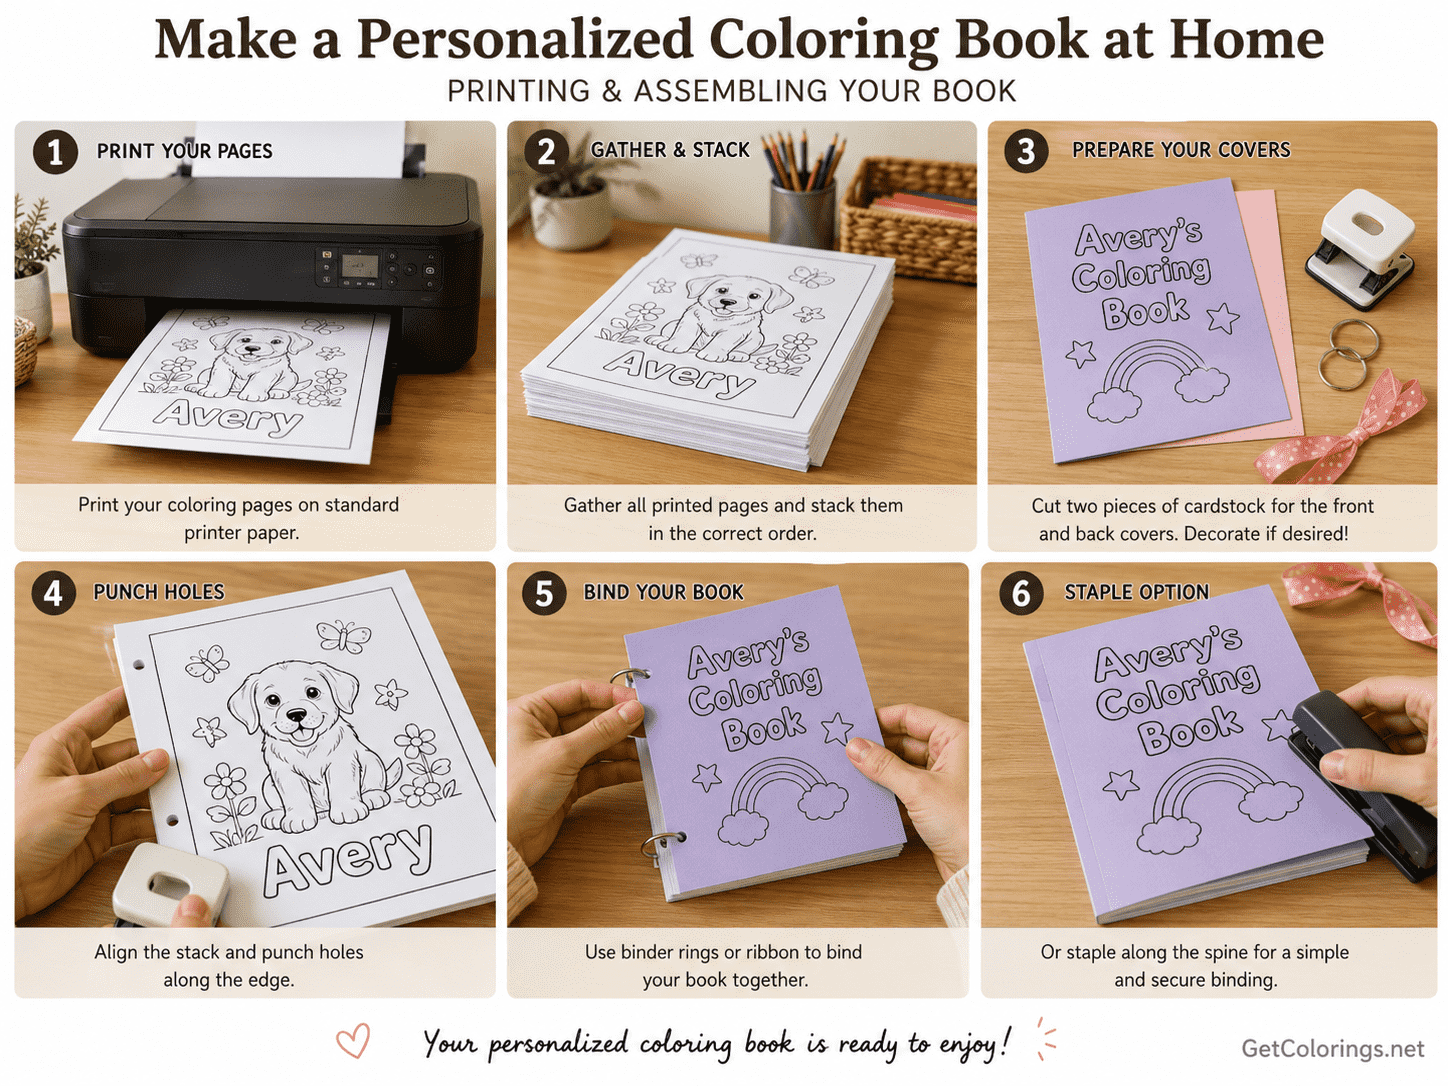
You do not need any special equipment to put your book together.
Stapled book
Stack the pages, align the edges, and place two or three staples along the left side.
This is the fastest method for a thin book.
Hole punch and ribbon
Punch two or three holes and connect the pages with ribbon, yarn, or metal rings.
This method makes it easier to add or remove pages.
Binder or folder
Place the pages in a small binder or presentation folder.
A binder is useful when you plan to add new pages later.
Spiral binding
Some print shops can spiral-bind a small book for a modest cost. This allows the pages to lie flat while the child colors.
Clipboard book
Keep loose pages on a clipboard and store finished sheets in a folder.
This is useful for travel and avoids permanent binding.
No matter which method you pick, check that staples, rings, and other parts are safe and right for the child’s age.
Add a Few Practical Extras
Adding small touches can make your coloring book easier and more fun to use.
Consider adding:
- A pocket for loose pages
- A small box of crayons
- A page for testing colors
- A “My Favorite Page” section
- A place for the child’s signature
- A completion certificate
- A date on the back cover
- A folder for finished artwork
A color-testing page is helpful if the child uses markers or new pencils. It lets them see how each color looks before they start coloring the main pages.
Make a Classroom Version
Teachers can use this project with their whole class, too.
Each student might receive:
- A cover with their name
- Pages linked to a current lesson
- Vocabulary pictures
- A listening activity
- One free-drawing page
- A final reflection page
Students can also contribute one page each to a shared classroom coloring book.
For more ideas, see How Teachers Can Use Printable Coloring Pages in the Classroom.
Avoid These Common Problems
Using low-quality images
A small online image may become blurry when enlarged. Always use a clear, print-ready file.
Adding too many detailed pages
If every page is very detailed, the book might feel like work instead of a fun, relaxing activity.
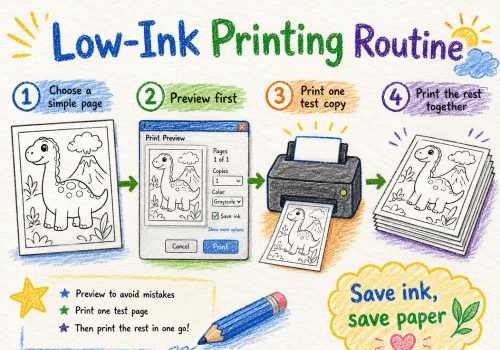
Printing before checking the preview
A single wrong setting can mess up all your pages. Always print a test page first.
Using thin paper with markers
Ink may bleed through and spoil the next page.
Making every choice for the child
Personalization should include the child’s preferences. Ask them to choose the theme, cover color, or several of the pages.
Expecting the book to remain perfect
Pages might get bent, marked, or colored outside the lines. That just shows the book is being enjoyed.
A Final Checklist
Before assembling the book, confirm that:
- The theme is clear
- The difficulty matches the child
- The images are sharp
- The pages are in the correct order
- The child’s name is spelled correctly
- The cover is ready
- The paper suits the coloring tools
- One test copy has been printed
- The binding is secure
- There are a few opportunities for free creativity
Final Thoughts
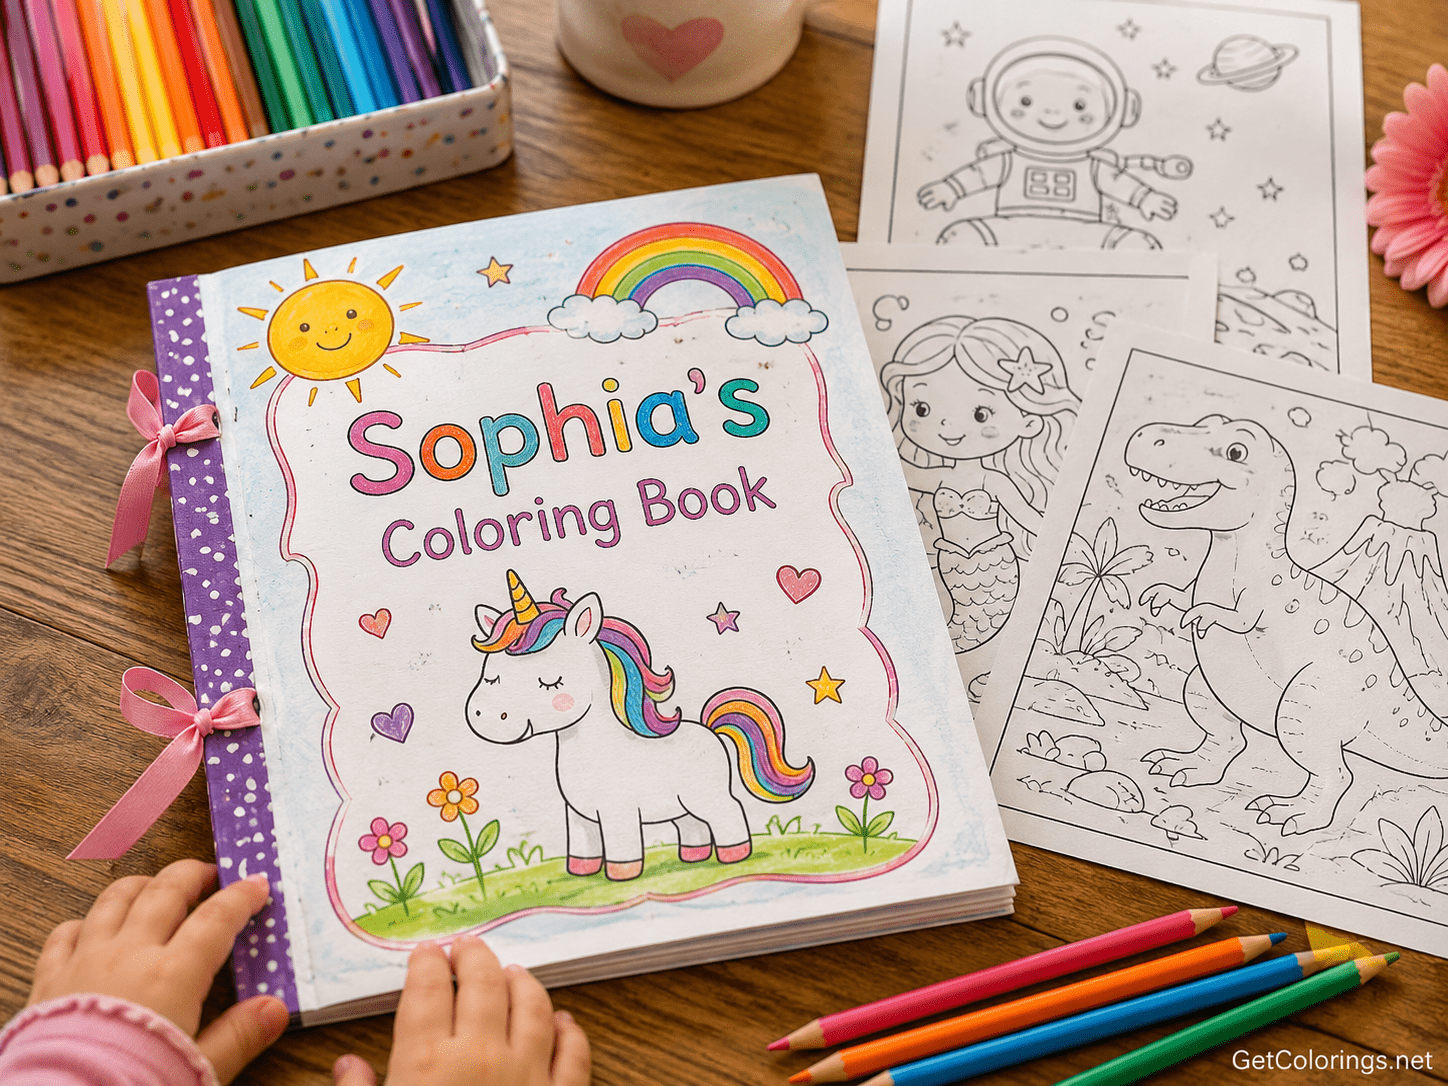
Making a personalized coloring book is simple and can turn into a special gift or a fun family project.
The best coloring books are not always the biggest or fanciest. They are the ones that match the child’s interests, offer the right amount of challenge, and let their imagination grow.
Pick a theme the child truly likes. Add their name. Combine favorite coloring pages with some open-ended activities. Then print and put the book together in a way that fits your home.
In the end, you will have more than just a bunch of pictures. You will have a coloring book made just for one special child.