Why Are My Coloring Pages Printing Too Small or Cut Off?
You pick out the perfect coloring page, hit Print, and expect a nice, full-page picture.
But instead, the dinosaur prints tiny in the middle of the page. The castle’s top is missing. Part of the design runs off the right edge, or the coloring page is split across four sheets.
Usually, the image isn’t the problem. Most of the time, the printer is just using the wrong paper size, scale, orientation, or layout setting.
The good news is that these issues are usually easy to fix once you know what to look for.
The picture prints are too small
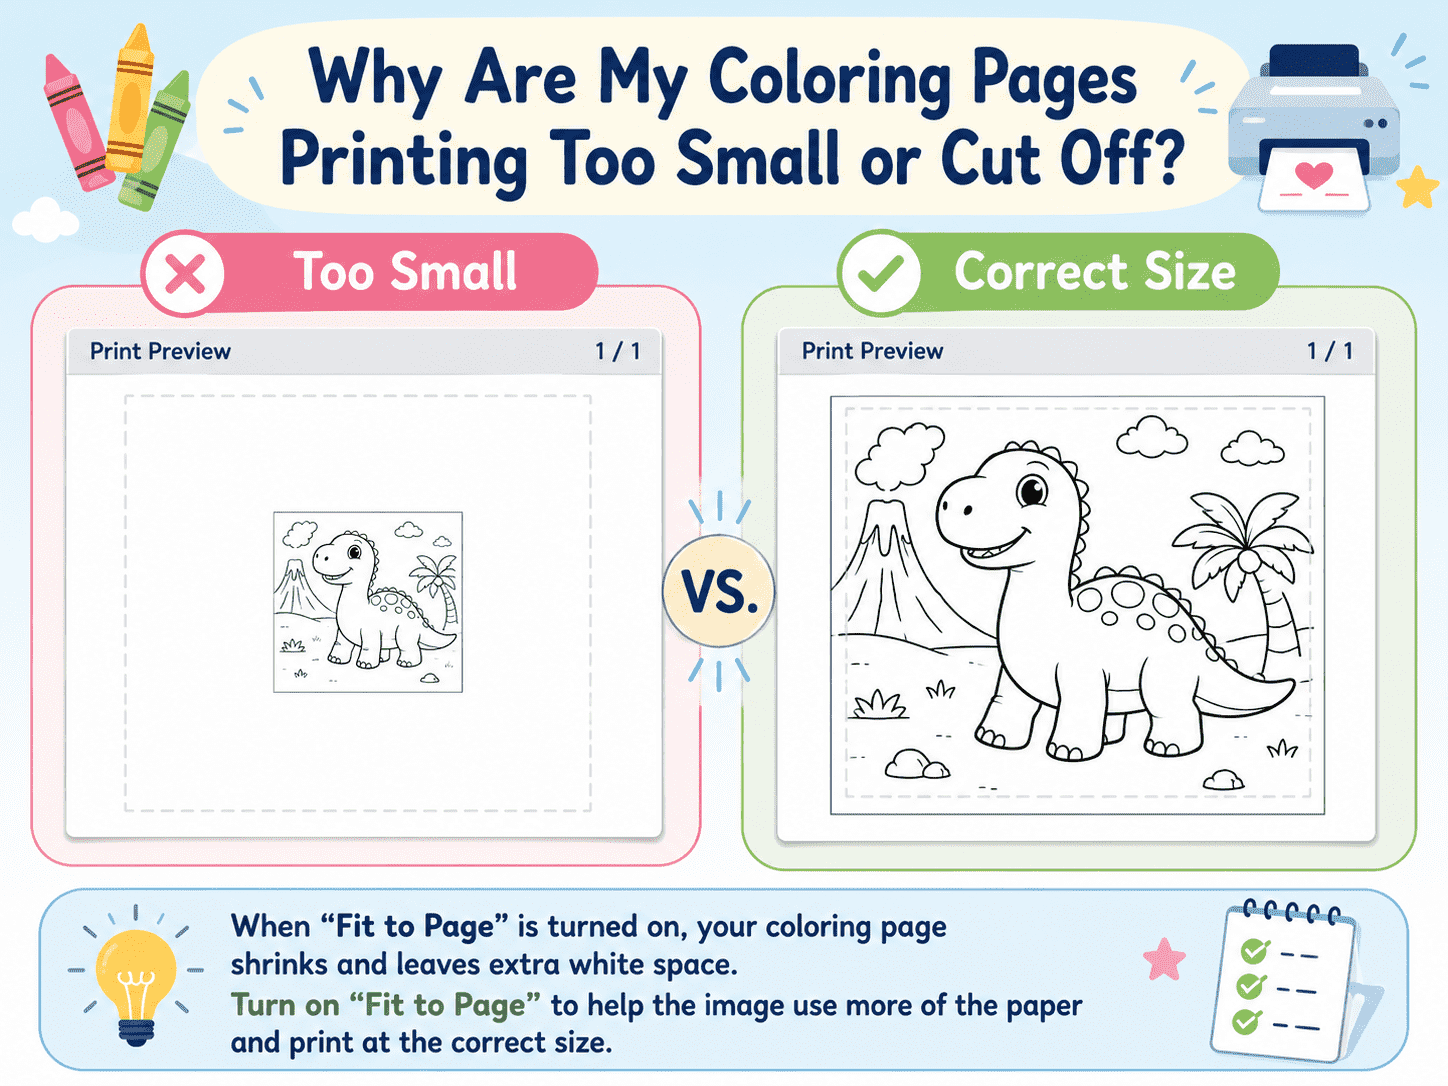
A coloring page might print too small if the printer uses the image’s original size instead of making it fit the paper.
This often happens with images you download from websites. A picture can look big on your screen but still be saved at a small print size.
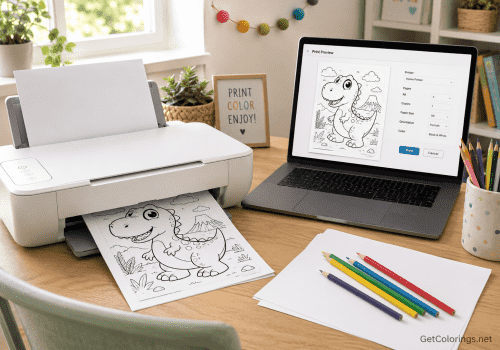
Open the print window and look for a setting such as:
Fit to Page, Fit to Printable Area, Scale to Fit, or Fill Entire Paper.
For most coloring pages, choosing Fit to Page is the safest bet. It makes the image bigger but keeps the whole design visible.
Watch out for "Actual Size" or "100% Scale." These settings print the file at its saved size, which can leave a lot of white space around the picture.
If the preview still looks too small, try a custom scale such as 105% or 110%. Increase the size gradually and keep checking that no important parts disappear.
Sometimes, a big white border is part of the image itself. If that’s the case, crop out the empty space before printing or use a print-ready version of the page.
For a complete explanation of common printer settings, see How to Print Coloring Pages at Home.
The Edges Are Cut Off
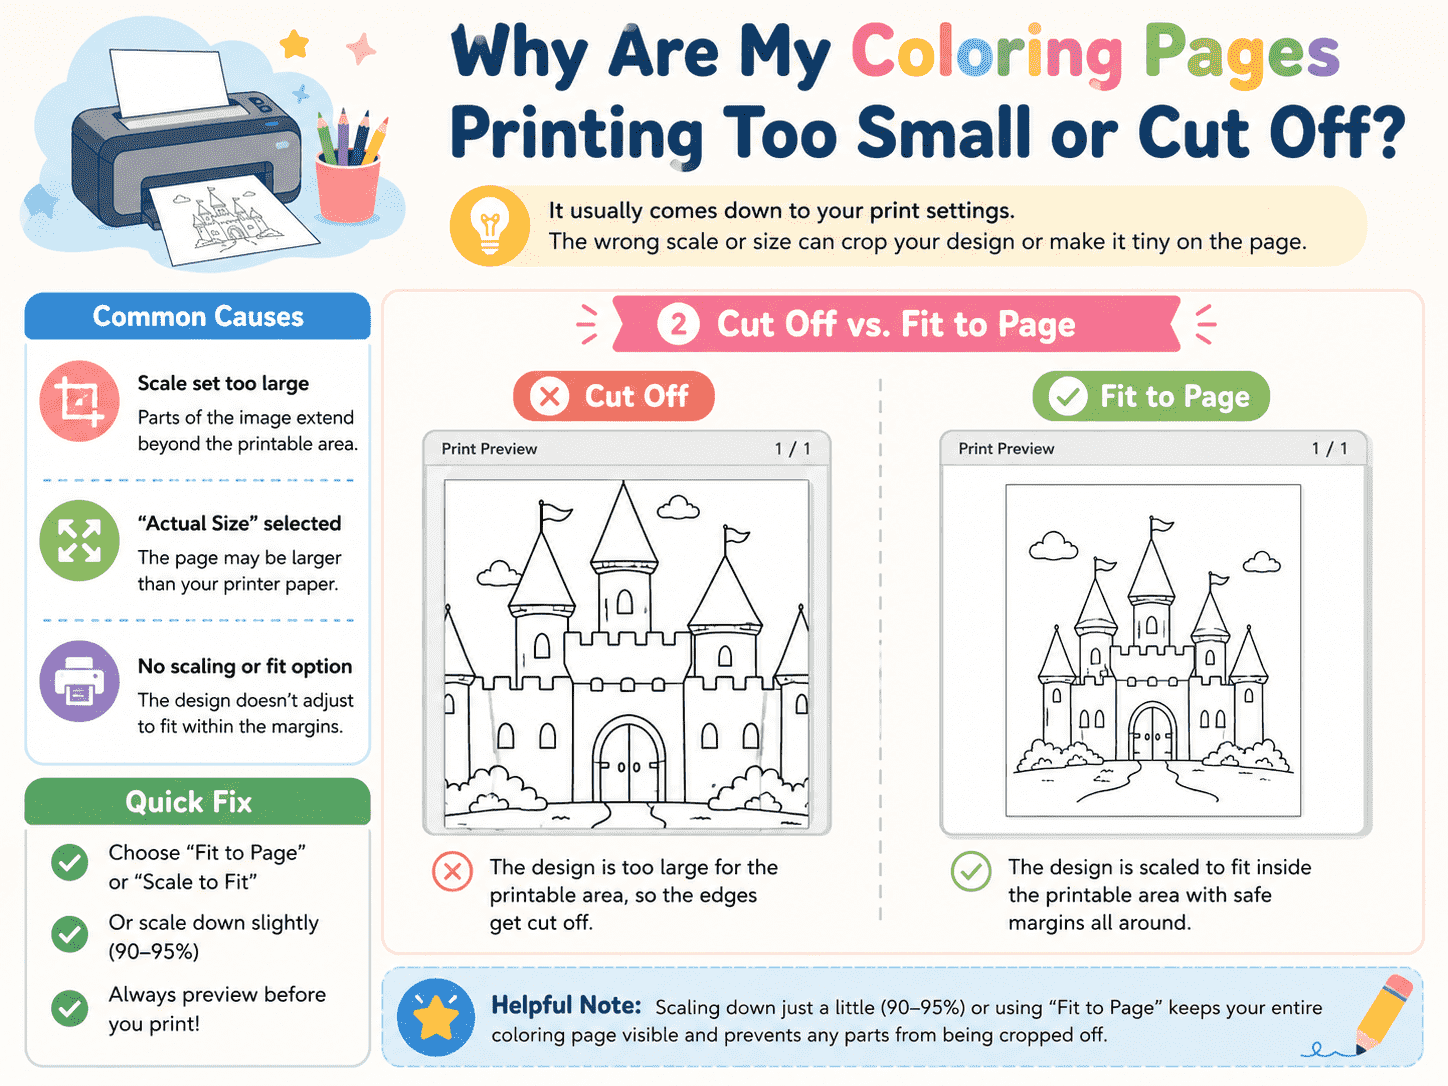
If part of the picture is missing, the image is probably bigger than what your printer can actually print.
Most home printers can’t print all the way to the edge of the paper. They need a small blank margin around the page.
A design can also get cut off if you pick Fill Page, Borderless, or set the scale too high.
Try switching to Fit to Page or lowering the scale a bit. Setting it between 90% and 95% usually fixes small cropping issues.
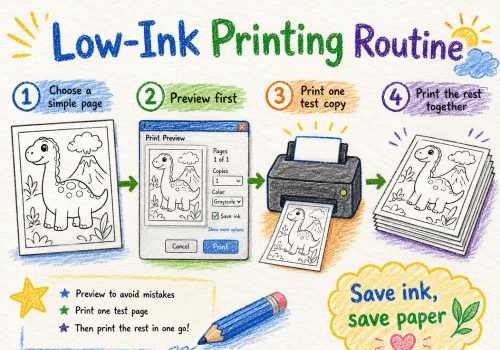
Look at the print preview closely. You should see the whole outline before you hit Print.
If the page contains important details very close to the edge, add a small white border using an image editor. This gives the printer more room and prevents heads, feet, text, or decorative frames from being cut off.
Borderless printing can work for certain designs, but it often enlarges the image slightly to avoid leaving white edges. That automatic enlargement may crop part of the picture.
For ordinary coloring activities, a narrow white margin is usually better than true borderless printing.
The Paper Size Does Not Match
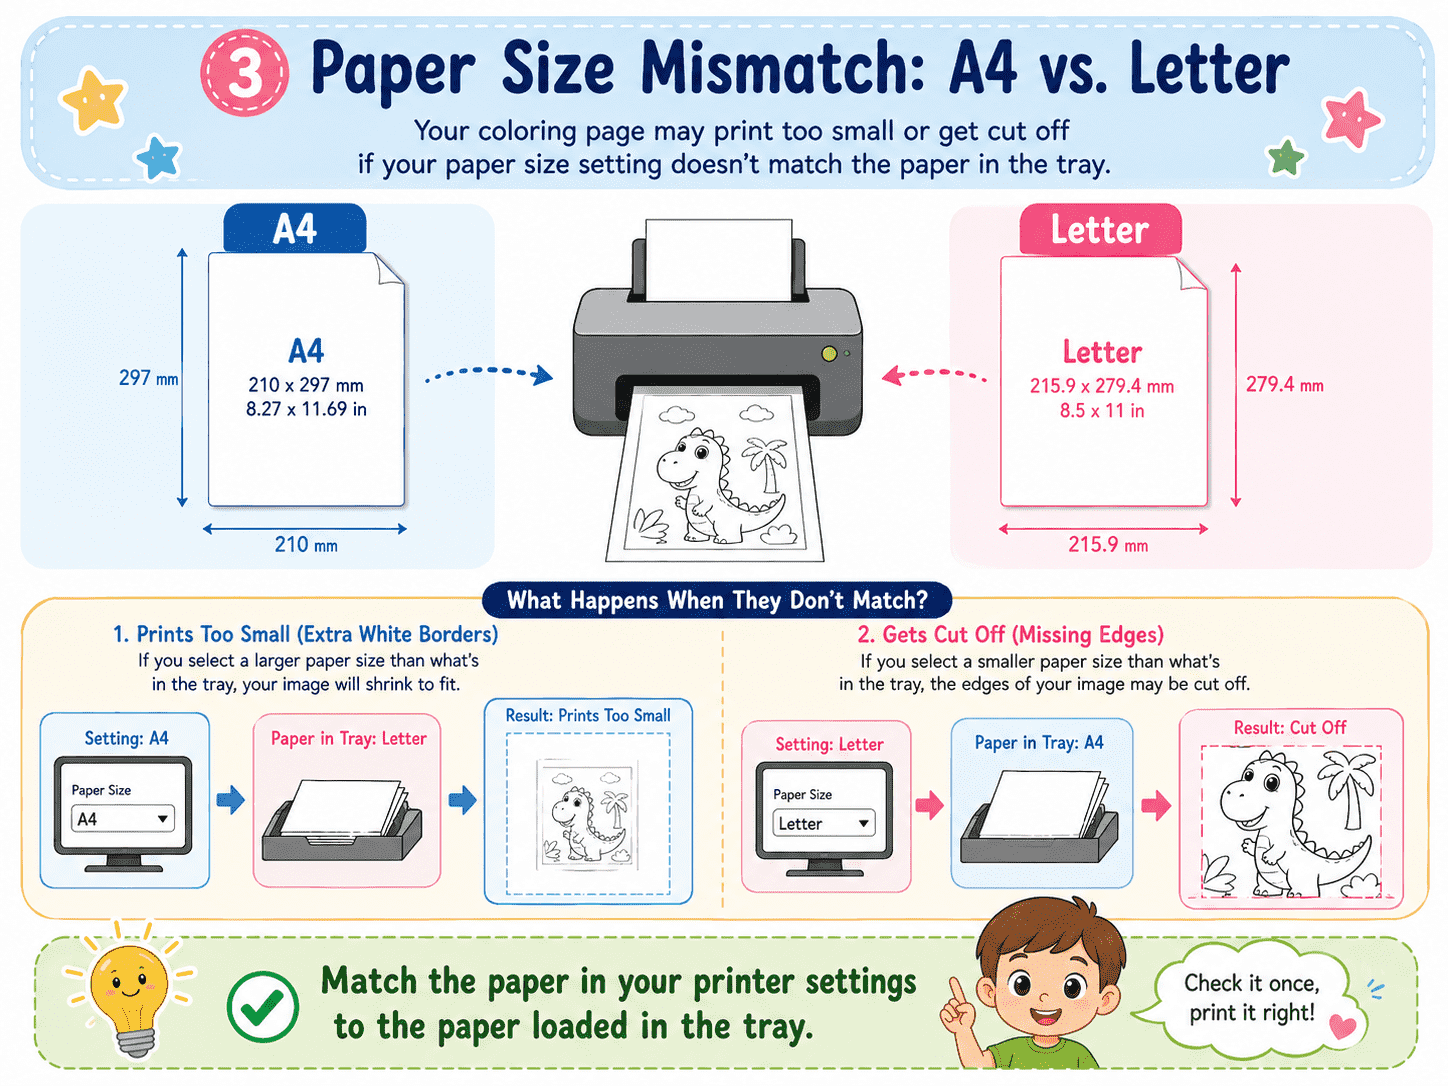
A4 and US Letter paper look similar, but they’re not the same size.
A4 measures 210 × 297 millimeters. US Letter measures 8.5 × 11 inches.
If your printer is set to Letter but you load A4 paper, or the other way around, the image might shift, shrink, or lose part of its edge.
Check the paper packaging, then make sure the same size is selected in:
- The print window
- The printer settings
- The document or image settings
- The physical printer tray, when required
Make sure all your settings match the paper you actually put in the printer.
This is especially important when printing personalized books or multiple pages that should look consistent. The instructions in Turn Your Ideas into a Personalized Coloring Book explain how to keep page size and orientation uniform throughout a project.
The Page Is Facing the Wrong Direction
A tall image usually prints best in portrait orientation. A wide image works better in landscape.
If you try to print a wide picture on portrait paper, the printer might shrink it a lot or cut off both sides.
Check the print preview and see if the shape of the image matches the paper.
Choose:
Portrait for tall pictures, individual characters, animals, letters, and most standard coloring pages.
Landscape for wide scenes, character groups, maps, vehicles, and panoramic designs.
Automatic orientation can work, but it’s not always reliable. Picking the right direction yourself gives you more predictable results.
One Image Prints Across Several Sheets
If one coloring page prints across several sheets of paper, a poster-style setting is probably turned on.
Look for options such as:
- Poster
- Tile
- Multiple Pages
- Banner
- Split Image
- Tiling
Turn these options off and pick One Page per Sheet.
This can also happen if you open the image in design software with a really large canvas size. Export it again as an A4 or Letter-sized PDF or image before printing.
Always check the page count in the preview. If one coloring page shows up as four, six, or nine print pages, cancel the print job and change the layout.
The Image Is Off-Center
A picture might look closer to one edge if the file has uneven margins or if the printer uses a custom position.
Choose Center Image, Center on Page, or a similar option if available.
If you can’t find a centering option, open the image in a simple editor and put it on a new white A4 or Letter canvas. Make sure there’s equal space around the design.
A slightly off-center page is usually still usable, but correcting the layout can make homemade books, classroom sets, and framed artwork look more professional.
The Preview Looks Correct, but the Print Is Still Wrong
If the preview on your screen looks good but the printed page doesn’t, check the printer itself.
The paper guides in the tray should touch the paper gently without bending it. If the guides are loose, the paper might feed at an angle.
Make sure the printer driver uses the same paper size as your browser or image viewer. Sometimes, old or incorrect printer software can override the settings you see on screen.
You can also try saving the image as a PDF and printing that instead. PDFs often keep the page layout more consistent than images opened straight from a browser.
Print a test page before making a big batch for a classroom or party. This tip also helps when using How Teachers Can Use Printable Coloring Pages in the Classroom.
Image Quality Still Matters
Scaling can correct the physical size, but it cannot repair a low-resolution picture.
A small screenshot can look blurry or pixelated when you make it bigger to fill the page. Whenever you can, download the original image instead of taking a screenshot.
High-quality PNG files and print-ready PDFs usually give you cleaner outlines.
Pick designs that fit your child’s age before making them bigger. Enlarging a very detailed page doesn’t always make it easier—young kids might still have trouble with lots of tiny sections.
See How to Choose the Right Coloring Pages for Your Child’s Age for guidance on selecting the right level of detail.
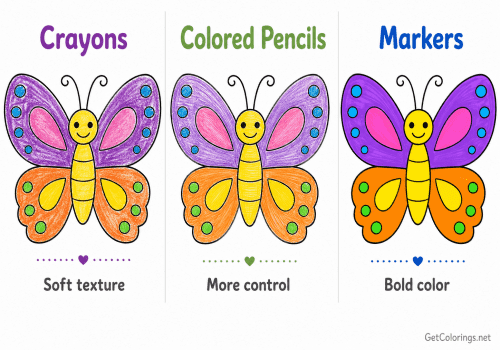
The kind of paper you use also affects the result. Thin paper can wrinkle, and some markers might bleed through. The Best Paper for Printing Coloring Pages at Home compares good paper choices for crayons, pencils, markers, and crafts.
The 30-Second Check Before You Print
Before you hit Print, check the preview and make sure of these five things:
- The paper size matches the loaded paper.
- The orientation matches the shape of the picture.
- The entire design is visible.
- Fit to Page is selected.
- Only one page will be printed.
Doing these quick checks can prevent most sizing and cropping problems.
A Full-Page Result Without Wasted Paper
A coloring page should be big enough to enjoy, but not so big that important details get cut off by the printer’s margins.
If the print doesn’t look right, start by checking the print preview instead of changing the original image right away. Make sure the paper size matches, pick the right orientation, choose Fit to Page, and turn off poster or borderless settings if needed.
Print one test copy, adjust the scale if needed, and save the successful settings for the next page.
A few seconds spent checking the preview can prevent wasted ink, wasted paper, and a disappointed child waiting for their picture.