How to Print Coloring Pages at Home: A Simple Step-by-Step Guide
Printing a coloring page at home appears straightforward; however, the final result may not always meet expectations.
Common issues include images printing at a reduced size, portions of the design being cut off, faint outlines, excessive ink usage, or the image spanning multiple pages instead of one.
These problems typically result from incorrect print settings. By understanding which settings to adjust, you can produce clear coloring pages from any device while minimizing paper and ink waste.
This guide outlines the complete process, including selecting an appropriate image, choosing the correct paper, and configuring printer settings for optimal results.
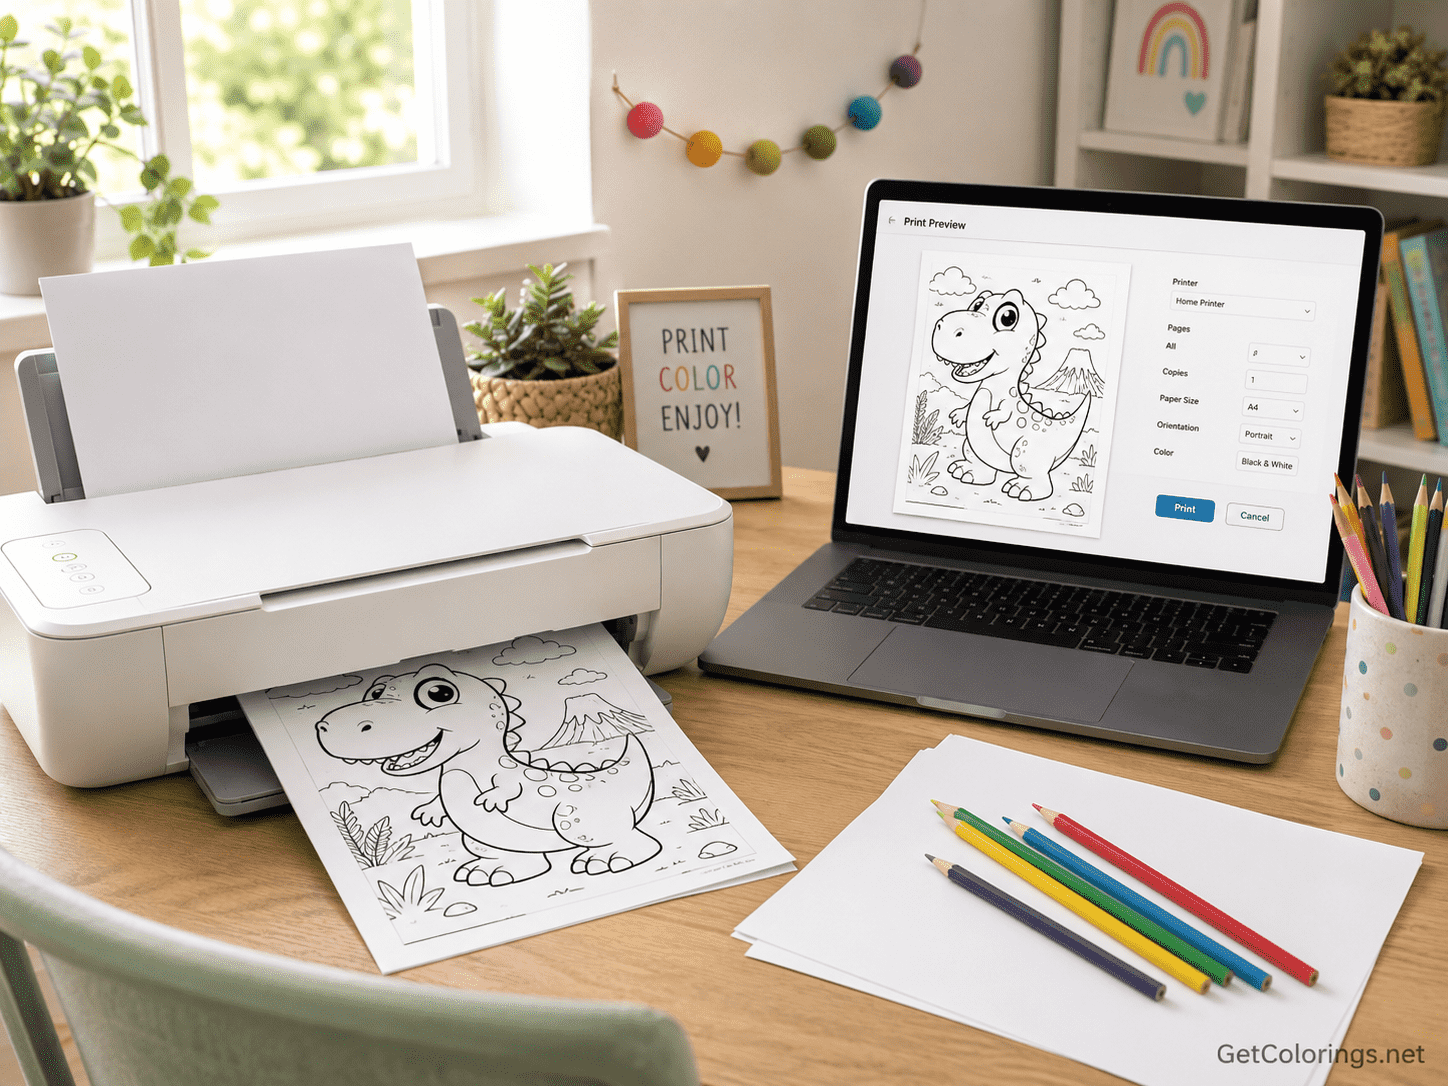
1. Choose a Clear Coloring Page
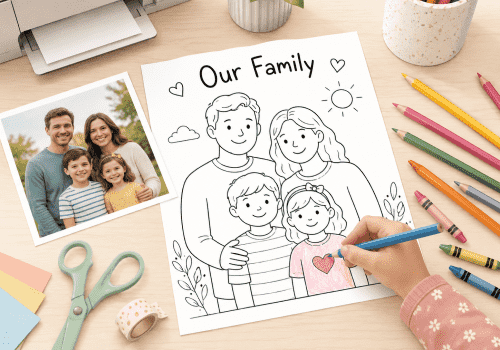
Start with a coloring page that has clean outlines and enough space around the image.
A good printable coloring page usually has:
- Dark, easy-to-see outlines
- A plain white background
- Enough space between the drawing and the page edges
- A resolution that remains clear when printed
- Details appropriate for the child’s age
Images that appear acceptable on a phone screen may become pixelated or unclear when printed at full size, particularly if they are small or low-resolution.
Before downloading, view the image at its full size to ensure the outlines remain smooth and clear. Whenever possible, use the original download or print function instead of capturing a screenshot.
Screenshots can diminish image quality, inadvertently crop the design, or include extraneous browser elements.
Related guide: How to Choose the Right Coloring Pages for Your Child’s Age.
2. Download the File Before Printing
Although direct printing from a website is sometimes possible, downloading the image first generally provides greater control over print quality and settings.
Look for a button such as:
- Download
- View Full Size
- Open Image
- Save Image
After downloading the file, open it using your computer’s image viewer, browser, or PDF reader.
Saving the file facilitates reprinting without the need to relocate the original image.
Consider creating a dedicated folder, such as “Coloring Pages,” and organizing files by category (e.g., animals, vehicles, alphabet, holidays, or simple designs). This approach is particularly beneficial for parents and educators who frequently print activities.
3. Check the Paper Size
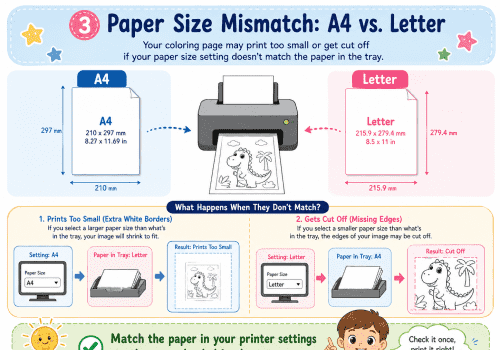
The most common home paper sizes are A4 and US Letter.
A4 measures 210 × 297 millimeters and is widely used in many countries. US Letter measures 8.5 × 11 inches and is common in the United States and Canada.
Although the difference is minor, selecting the incorrect paper size setting may result in portions of the image being cut off.
Before printing, make sure the paper size selected in the print window matches the paper loaded into the printer.
Look for a setting called:
- Paper Size
- Page Size
- Media Size
- Document Size
Select A4 when using A4 paper or Letter when using US Letter paper.
If uncertain about the paper type, consult the packaging or measure a sheet to confirm its dimensions.
4. Select Portrait or Landscape Orientation
Most coloring pages are designed for portrait orientation, where the paper is taller than it is wide.
However, wide pictures such as landscapes, groups of animals, trains, or underwater scenes may look better in landscape orientation.
In the print window, choose:
- Portrait for tall images
- Landscape for wide images
While many printers automatically detect orientation, it remains important to verify the print preview before proceeding.
The print preview is the most useful part of the process. It shows approximately how the page will appear before you use any paper or ink.
5. Use “Fit to Page”
If the image is too large for the paper, the edges may be cut off. If it is too small, the picture may appear centered with a lot of empty space.
Look for one of these settings:
- Fit to Page
- Fit to Printable Area
- Scale to Fit
- Shrink to Fit
- Fit
- Fill Page
For most coloring pages, Fit to Page or Fit to Printable Area is the safest option.
This setting automatically adjusts the picture to fit within the paper's printable area.
Exercise caution with the Fill Page option, as it may enlarge the image to fill the paper but can also result in cropped edges.
If the preview shows the entire picture with a small white border, the size is usually correct.
6. Check the Scale Percentage
Some print windows allow you to enter a scale percentage.
A scale of 100% prints the image at its original size. A lower percentage makes it smaller, while a higher percentage makes it larger.
If part of the page is cut off, try:
- 95%
- 90%
- Fit to Page
If the picture looks too small, try:
- 105%
- 110%
- A custom scale that still keeps the full image visible
Avoid excessive enlargement of low-resolution images, as this can cause the outlines to appear blurry or uneven.
For children requiring more space to color, selecting a simpler, high-quality page is preferable to enlarging a small, intricate image.
7. Leave Reasonable Margins
Most home printers cannot print completely to the edge of the paper unless they support borderless printing.
A small white margin is normal and often helpful because it prevents parts of the drawing from being cut off.
In the print menu, margin options may include:
- Default
- Minimum
- None
- Custom
Use Default or Minimum margins for most coloring pages.
Choose None only when your printer supports borderless printing and the image is designed for it. Borderless printing may also use more ink and can slightly crop the image.
For standard coloring activities, retaining a narrow white border is generally the most effective option.
8. Print in Black and White
Most coloring pages only need black outlines on white paper.
If the original image contains no important colors, select:
- Black and White
- Grayscale
- Monochrome
- Black Ink Only
This approach reduces color ink consumption.
Some printers combine multiple color cartridges even when printing a black image. If your printer offers a specific Black Ink Only option, that may be more economical.
Check the preview before printing. Thin gray outlines may become too faint in draft mode, so choose a setting that keeps the lines clearly visible.
9. Choose the Right Print Quality
Print quality settings often include:
- Draft
- Standard
- Normal
- High
- Best
For most coloring pages, Standard or Normal quality is enough.
Draft mode saves ink and prints faster, but the outlines may look pale or broken. High-quality mode produces darker, smoother lines but may use more ink and take longer.
A practical approach is:
- Use Draft for simple practice pages
- Use Standard for everyday coloring
- Use High for detailed pictures, classroom displays, or special projects
Print a single test page before producing multiple copies.
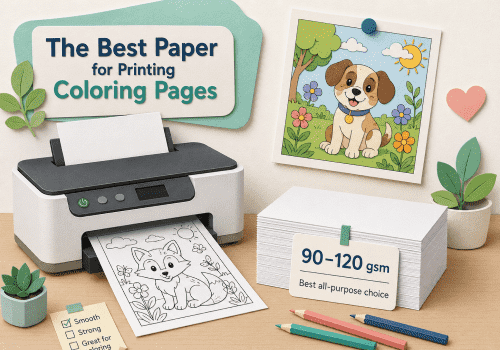
10. Choose a suitable paper
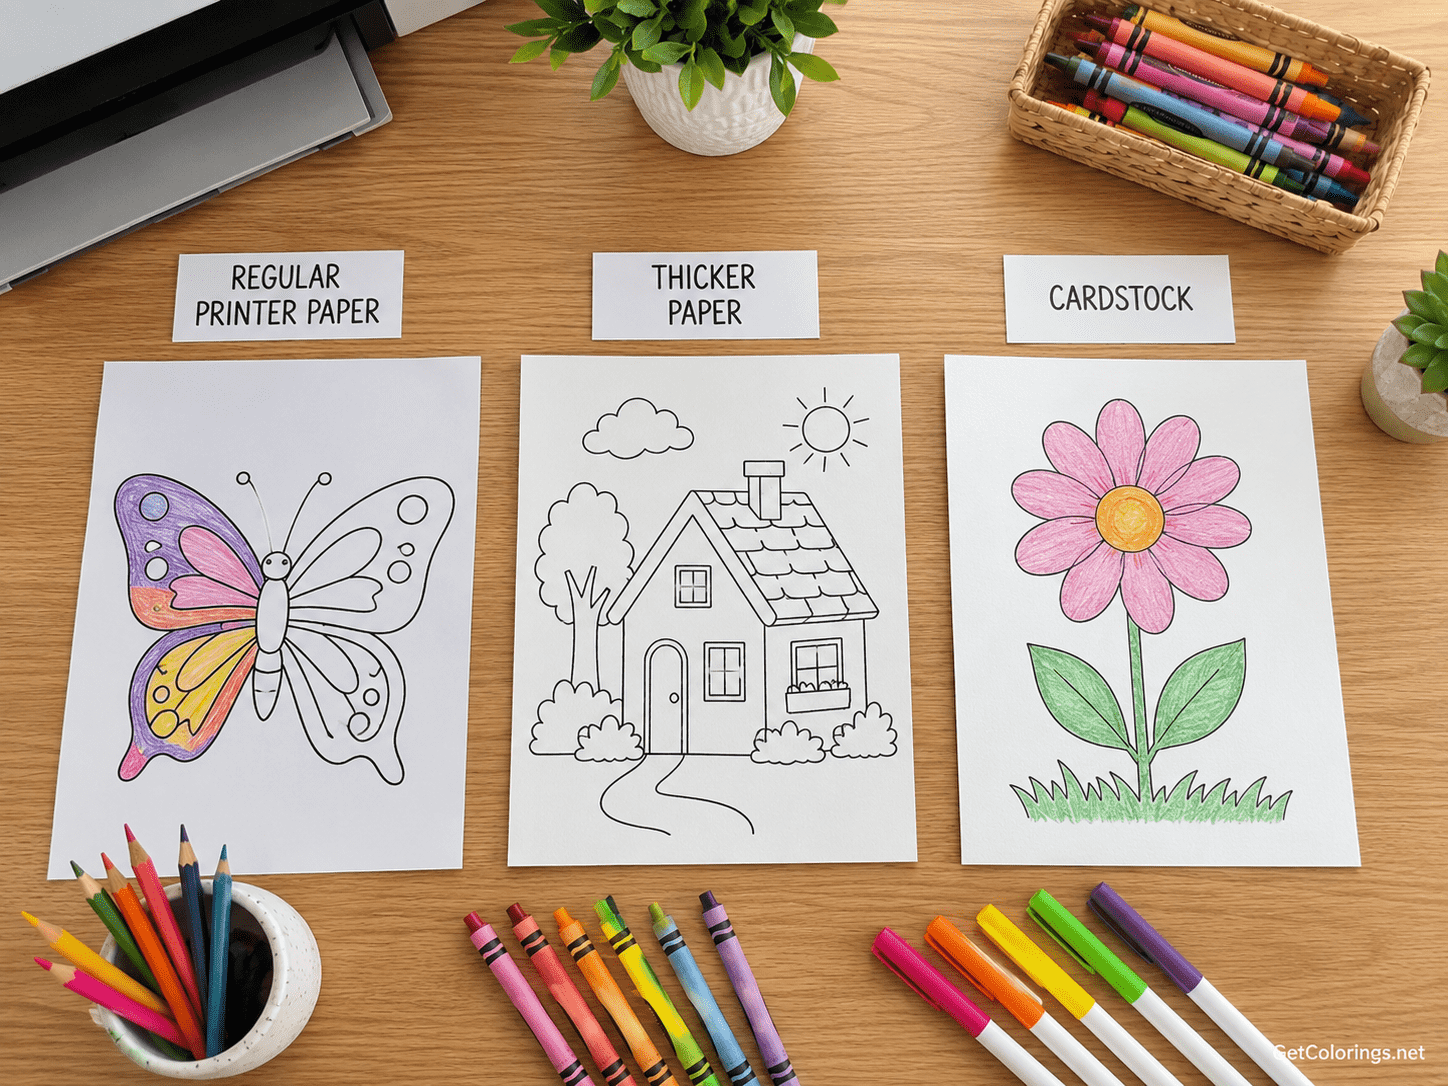
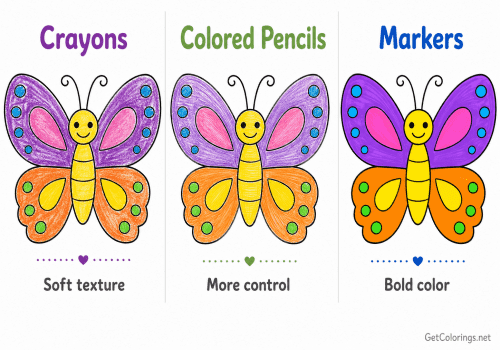
Standard printer paper works well for crayons and colored pencils.
Common paper choices include:
Regular printer paper
Ordinary 75-80 gsm paper is affordable and suitable for everyday coloring with crayons or pencils.
Slightly thicker paper
Paper with a weight of 90-120 gsm feels stronger and is less likely to wrinkle. It is a good option when children press firmly or when you want to display the finished picture.
Cardstock
Cardstock is suitable for greeting cards, bookmarks, masks, decorations, and craft projects. Confirm that your printer supports thicker paper before use.
Marker-friendly paper
Markers can bleed through standard paper. Use thicker paper or place an additional sheet beneath the coloring page to protect surfaces.
Always check your printer’s paper recommendations before using heavy paper.
11. Print From a Computer
To print from a desktop or laptop:
- Open the downloaded image or PDF.
- Select Print from the file menu or press the standard print shortcut.
- Choose the correct printer.
- Confirm the paper size.
- Select portrait or landscape orientation.
- Choose Fit to Page.
- Select black-and-white printing if appropriate.
- Check the preview.
- Print one test copy.
If the image opens in a browser, it is typically possible to print from the browser menu. Ensure that only the image is printed, excluding menus, advertisements, or other webpage elements.
A dedicated print button on the coloring website typically generates a simplified version of the page for printing.
12. Print From a Phone or Tablet
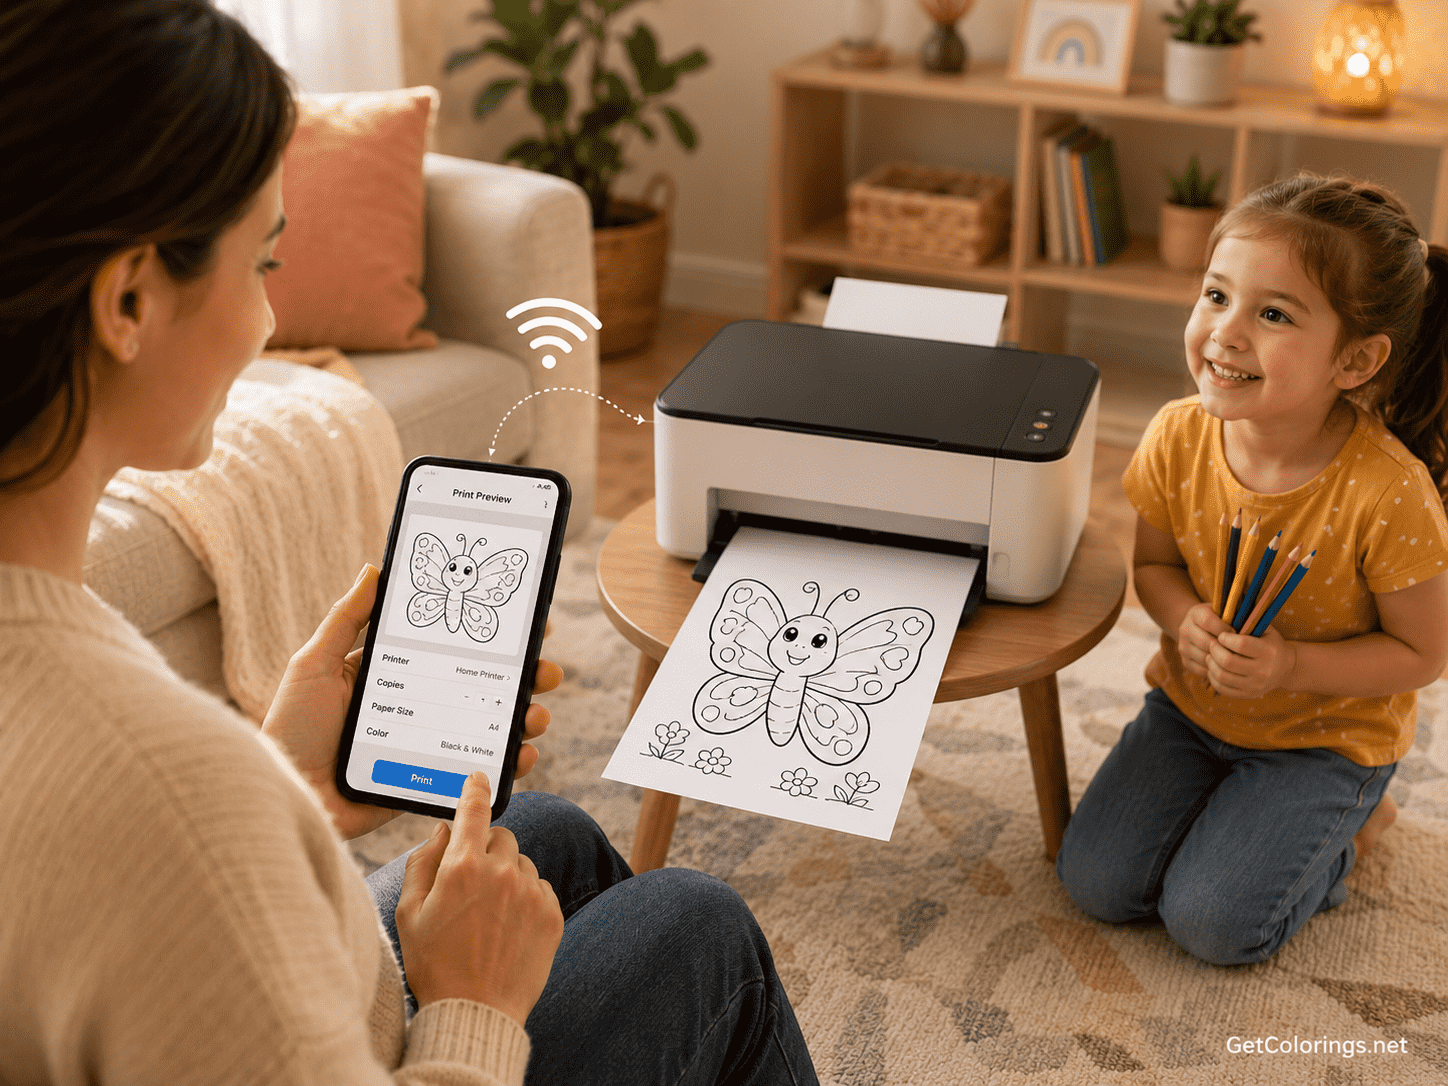
Printing from a mobile device is convenient if the printer supports Wi-Fi or mobile printing capabilities.
A typical process is:
- Open the coloring page.
- Download or save the image.
- Open the saved file.
- Tap the Share or Menu button.
- Select Print.
- Choose the printer.
- Set the paper size and number of copies.
- Check the preview.
- Tap Print.
Ensure that both the mobile device and printer are connected to the same Wi-Fi network.
If the printer is not detected, verify that it is powered on, connected to Wi-Fi, and compatible with your device’s printing protocol. The manufacturer's mobile application may offer further configuration options.
13. Avoid Printing the Website Layout
Sometimes users accidentally print the entire webpage instead of the coloring picture.
The result may include:
- Website menus
- Text from the page
- Buttons
- Large blank spaces
- Several pages
- An image that is too small
To avoid this issue, utilize the website’s dedicated Print or Download function.
If no dedicated option is available, open the image in a separate browser tab and print from that view. The print preview should display only the coloring page, excluding any website elements.
14. Solve Common Printing Problems
The picture is cut off
Use Fit to Page, reduce the scale, confirm the paper size, and check the orientation.
The picture is too small
Increase the scale slightly or choose a larger original image.
The lines look blurry
Download the original file instead of using a screenshot. Avoid enlarging a small image.
The lines are too light
Change from Draft to Standard quality and select black-and-white or black-ink printing.
The page prints over several sheets
Turn off Poster or Tile printing. Select one page per sheet and use Fit to Page.
The picture prints sideways
Change the orientation between portrait and landscape.
The printer uses too much ink
Use grayscale, Standard quality, and coloring pages with clean black outlines instead of large shaded areas.
Markers bleed through the paper
Use thicker paper or place an extra sheet underneath.
15. Print a Test Copy First
When printing several copies for a classroom, party, or family activity, always print one page at a time.
Check:
- Is the full image visible?
- Are the lines dark enough?
- Is the size comfortable for coloring?
- Is the orientation correct?
- Is the paper suitable for the chosen materials?
Printing a single test copy can prevent unnecessary paper waste.
Frequently Asked Questions
What is the best format for printable coloring pages?
PDF files are convenient because they usually preserve the intended page size. High-resolution PNG and JPG images can also print well when correctly scaled.
Should I use A4 or Letter paper?
Use the size that matches the paper loaded in your printer. Both can work well for coloring pages.
Can I print coloring pages in Draft mode?
Yes, but very thin outlines may look faint. Standard quality is usually more reliable.
Why does my coloring page print too small?
The image may have large built-in margins, or the printer may be using an incorrect scale. Check the preview and increase the scale carefully.
Can I use markers on regular printer paper?
You can, but markers may bleed through. Place another sheet underneath or use thicker paper.
How can I save printer ink?
Choose black-and-white printing, use Standard instead of High quality, and avoid pages with heavy black backgrounds or shading.
Final Thoughts
Effective home printing relies on several key decisions: selecting a clear image, matching the paper size, choosing the appropriate orientation, and reviewing the print preview before proceeding.
For the majority of coloring pages, optimal results are achieved using A4 or Letter paper, portrait orientation, Fit to Page settings, black-and-white printing, and Standard quality.
Once these settings are configured, coloring activities can be efficiently prepared for quiet time, travel, educational purposes, celebrations, or creative projects, minimizing paper and ink waste.