Turn Your Ideas into a Personalized Coloring Book
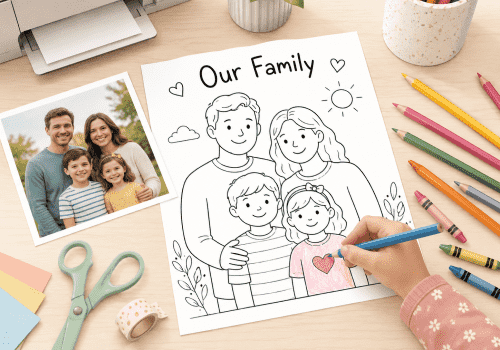
A personalized coloring book is an easy project that makes a thoughtful gift, a fun travel activity, or a creative surprise for a child. Unlike store-bought books, you can design it around the child’s favorite animals, hobbies, places, or interests.
You do not need any special design software or fancy printing equipment. A home printer, some printable coloring pages, a cover, and a simple way to bind the book are all you need.
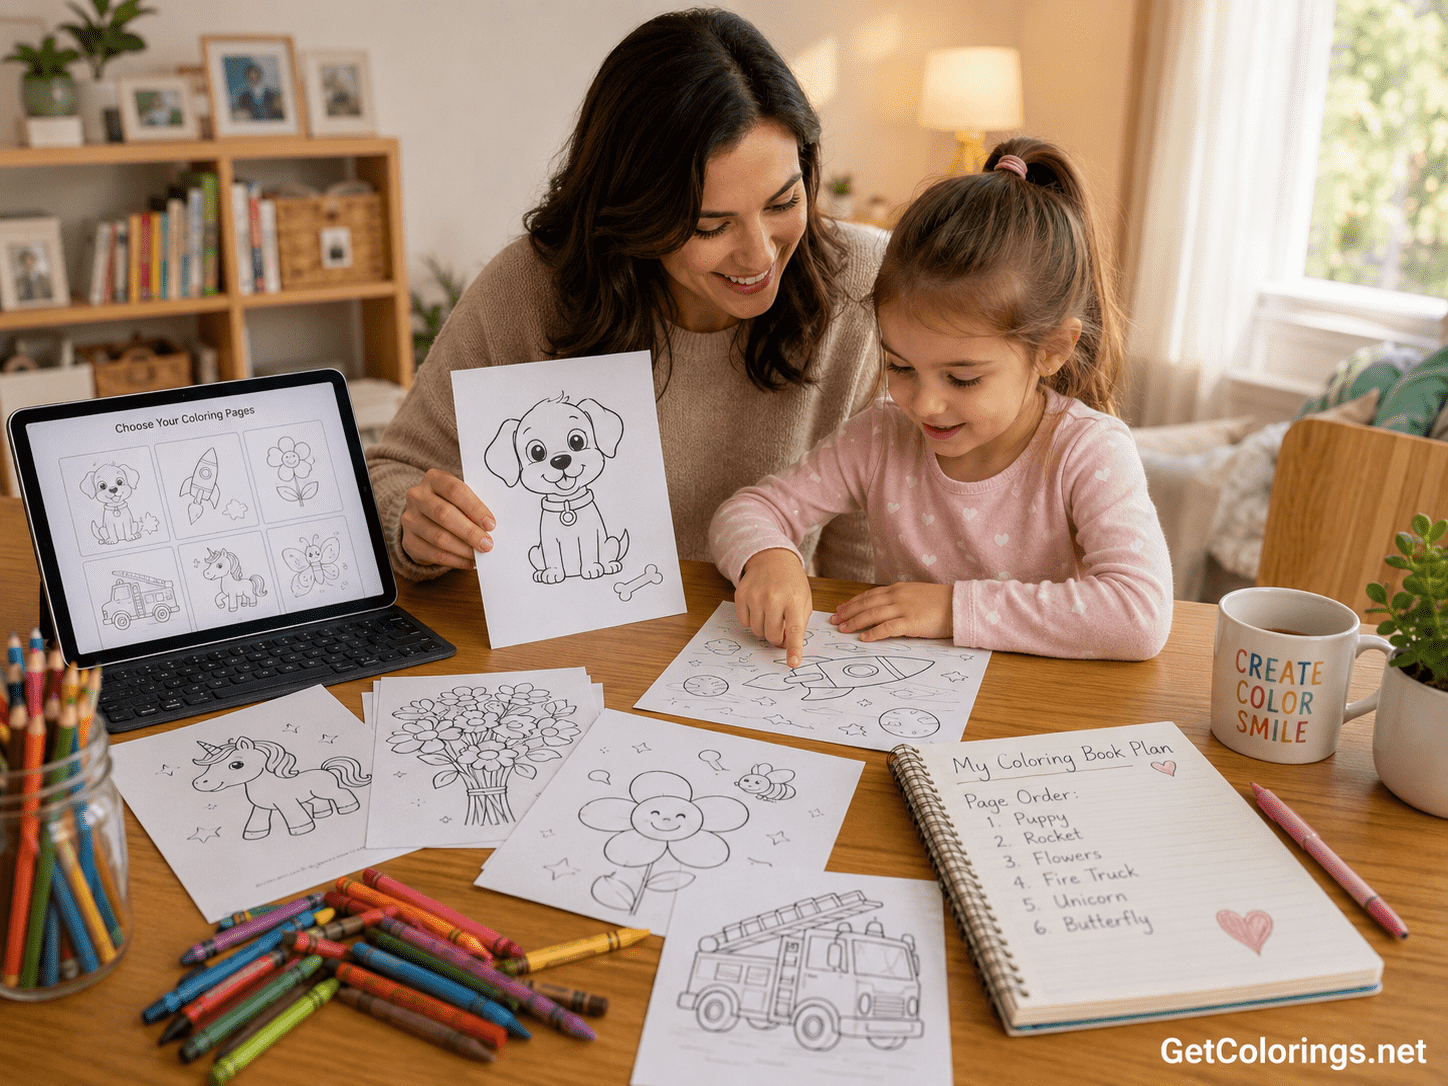
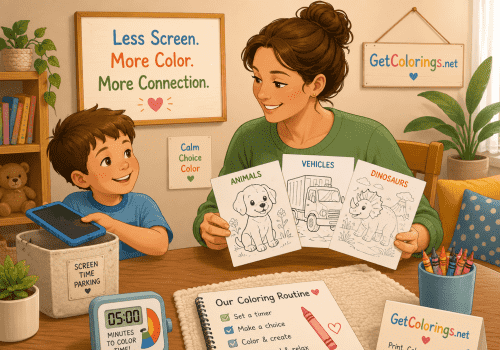
Begin by picking one main theme. Books feel more complete when the pages are connected, instead of being a random mix of pictures. Popular themes include animals, dinosaurs, vehicles, space, flowers, fairy tales, or anything else the child loves.
Before you pick the pages, consider the child’s age and how comfortable they are with coloring. Younger kids often like big pictures with thick outlines and lots of open space. Older kids might enjoy smaller details, patterns, landscapes, or more realistic drawings. Our guide on How to Choose the Right Coloring Pages for Your Child’s Age can help you find pages that are fun but not too hard.
A homemade coloring book does not need a lot of pages. Usually, 10 to 20 coloring pages are enough. You can start with simple designs and add more detailed ones later in the book. Try including one or two blank pages so the child can draw their own pictures or add backgrounds to scenes.
Make It Personal
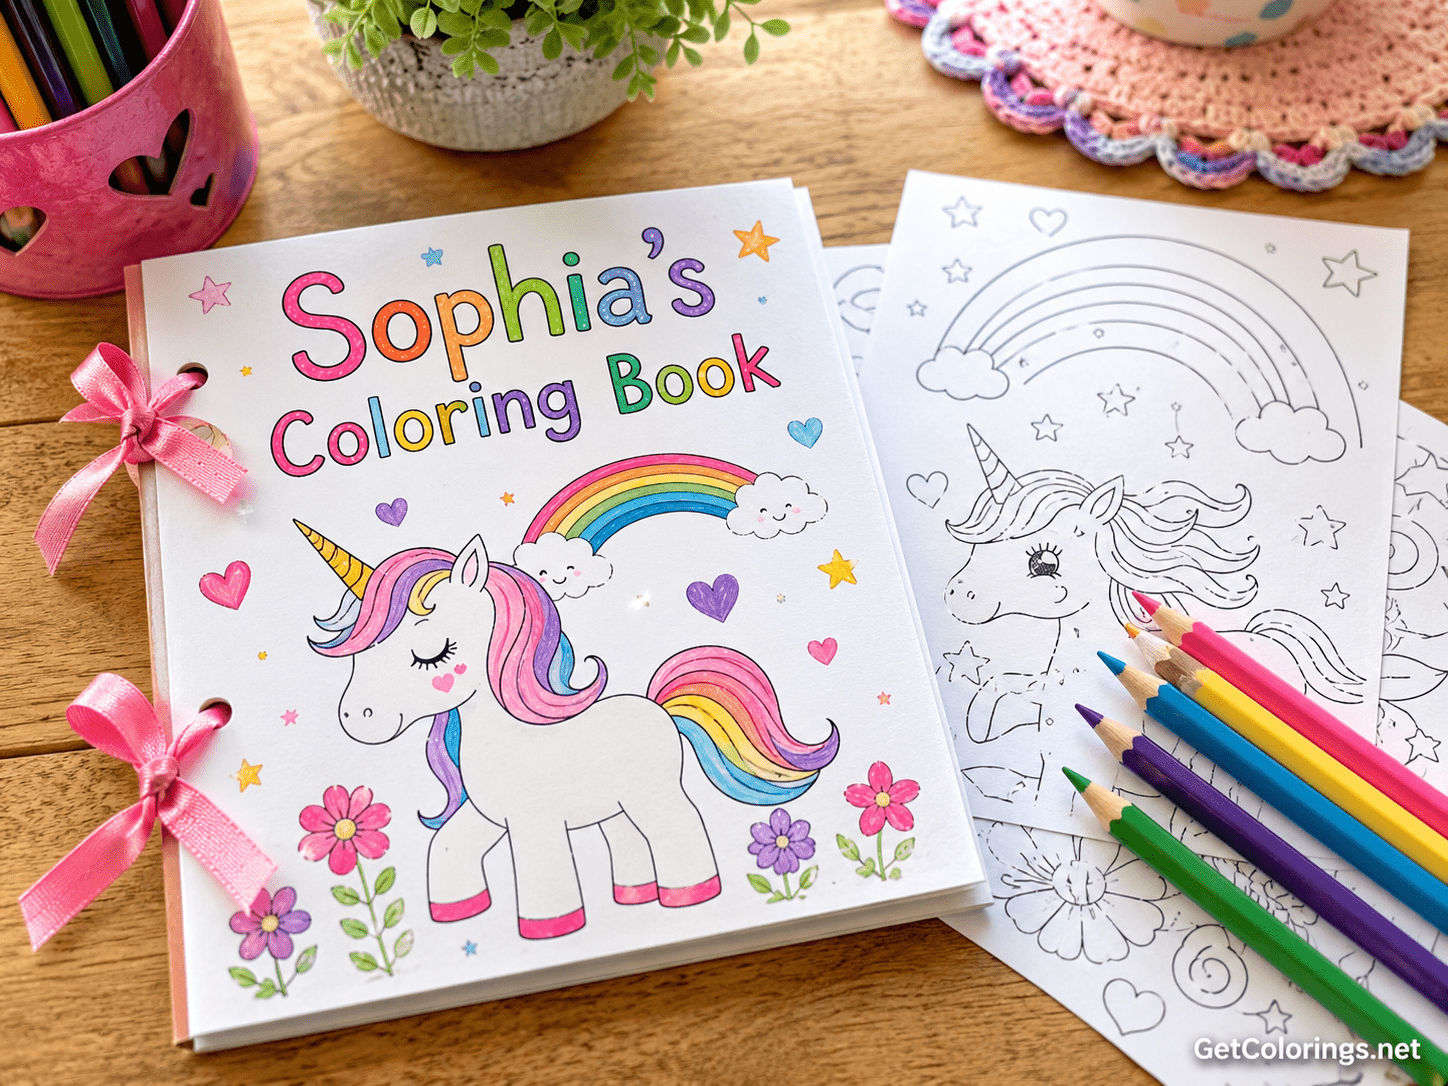
The simplest way to make the book personal is to put the child’s name on the cover.
For example:
Emma’s Animal Coloring Book
Daniel’s Space Adventure
Sophia’s Favorite Things to Color
You can also add the child’s age, birthday, favorite color, or a short message like:
This book was made especially for you. Choose any colors you like and have fun creating every page.
You can make a simple cover using a document editor or a design app. It’s best to use one large picture on the cover instead of lots of small ones.
You can add small personal touches to the inside pages, too. Try adding questions like “What is this animal’s name?” or “What happens next?” Leave some space for the child to draw extra things or write a short sentence.
These little extras make the book more interactive. Coloring helps children build creativity, observation, decision-making, and storytelling skills, as explained in What Skills Can Children Practice Through Coloring? A Parent’s Guide.
Print and Assemble the Book
Save all your pages in one folder and put them in the order you want before printing. Use the same paper size and direction for every page so the book looks neat and consistent.
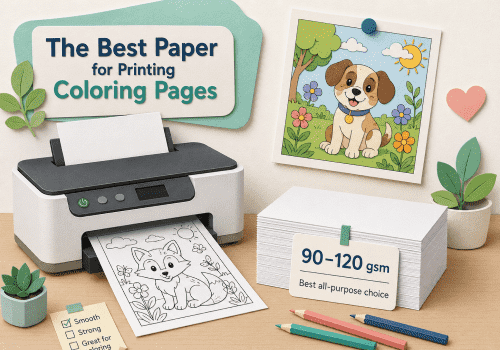
Regular printer paper works well with crayons and colored pencils. If the child uses markers or presses hard while coloring, slightly thicker paper is better. You can use cardstock for the front and back covers.
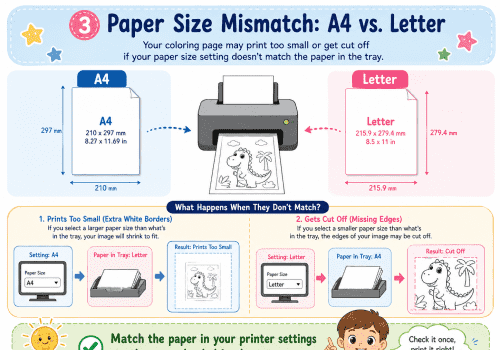
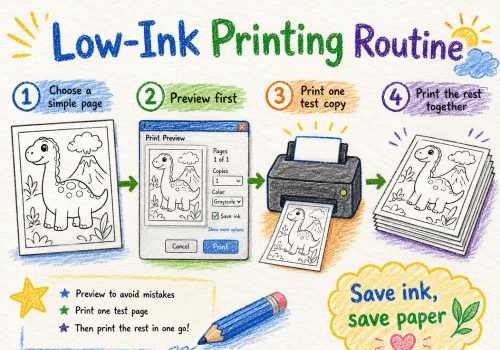
Print a test page first. Make sure the picture is not cut off, the outlines are dark enough, and the image fits well on the paper. For more tips on printer settings and paper, see How to Print Coloring Pages at Home.
Printing on one side of the paper is usually best, since markers can bleed through thin paper. This also lets you remove and display finished pages without messing up the rest of the book.
After you print everything, stack the pages in order and add the covers. The easiest way to bind the book is to put two or three staples along the left edge. You can also punch holes and use ribbon, yarn, or binder rings.
A small folder or binder is handy if you want to add new pages later.
Let the Child Help
The book feels even more special when the child helps make it.
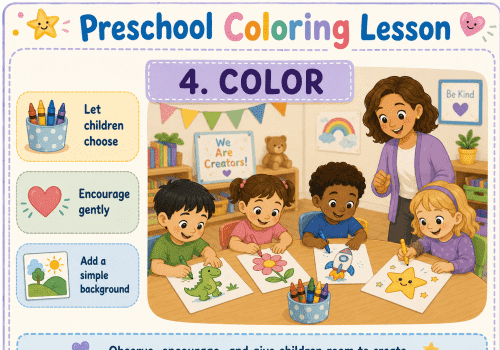
Let them choose several pages, select the cover color, or decide which picture should appear first. They can also color the cover themselves.
Do not worry if the finished book does not look professionally made. Slightly uneven pages, handwritten titles, or simple decorations often make a homemade book feel more special.
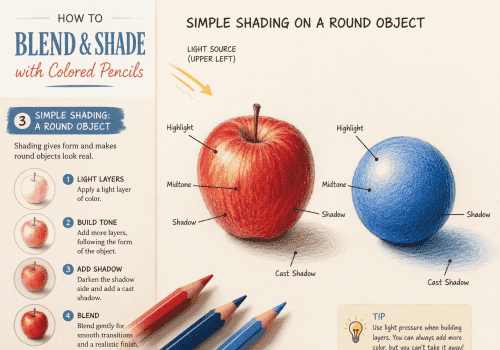
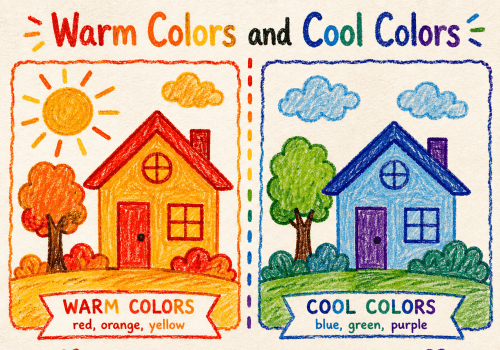
Match the coloring materials to the pages. Crayons are useful for large spaces, colored pencils work well for details, and markers create bright results. The comparison in Crayons vs. Colored Pencils vs. Markers can help you choose the right supplies.
Final Thoughts
Making a personalized coloring book at home is mostly about choosing pictures that suit one particular child.
Select a clear theme, use age-appropriate pages, add the child’s name, and print the book on suitable paper. A simple cover and basic binding are enough to turn separate coloring pages into a meaningful homemade gift.
The finished book does not need to be perfect. Its value comes from the fact that it was created especially for the child.