20 Creative Things to Make with Finished Coloring Pages
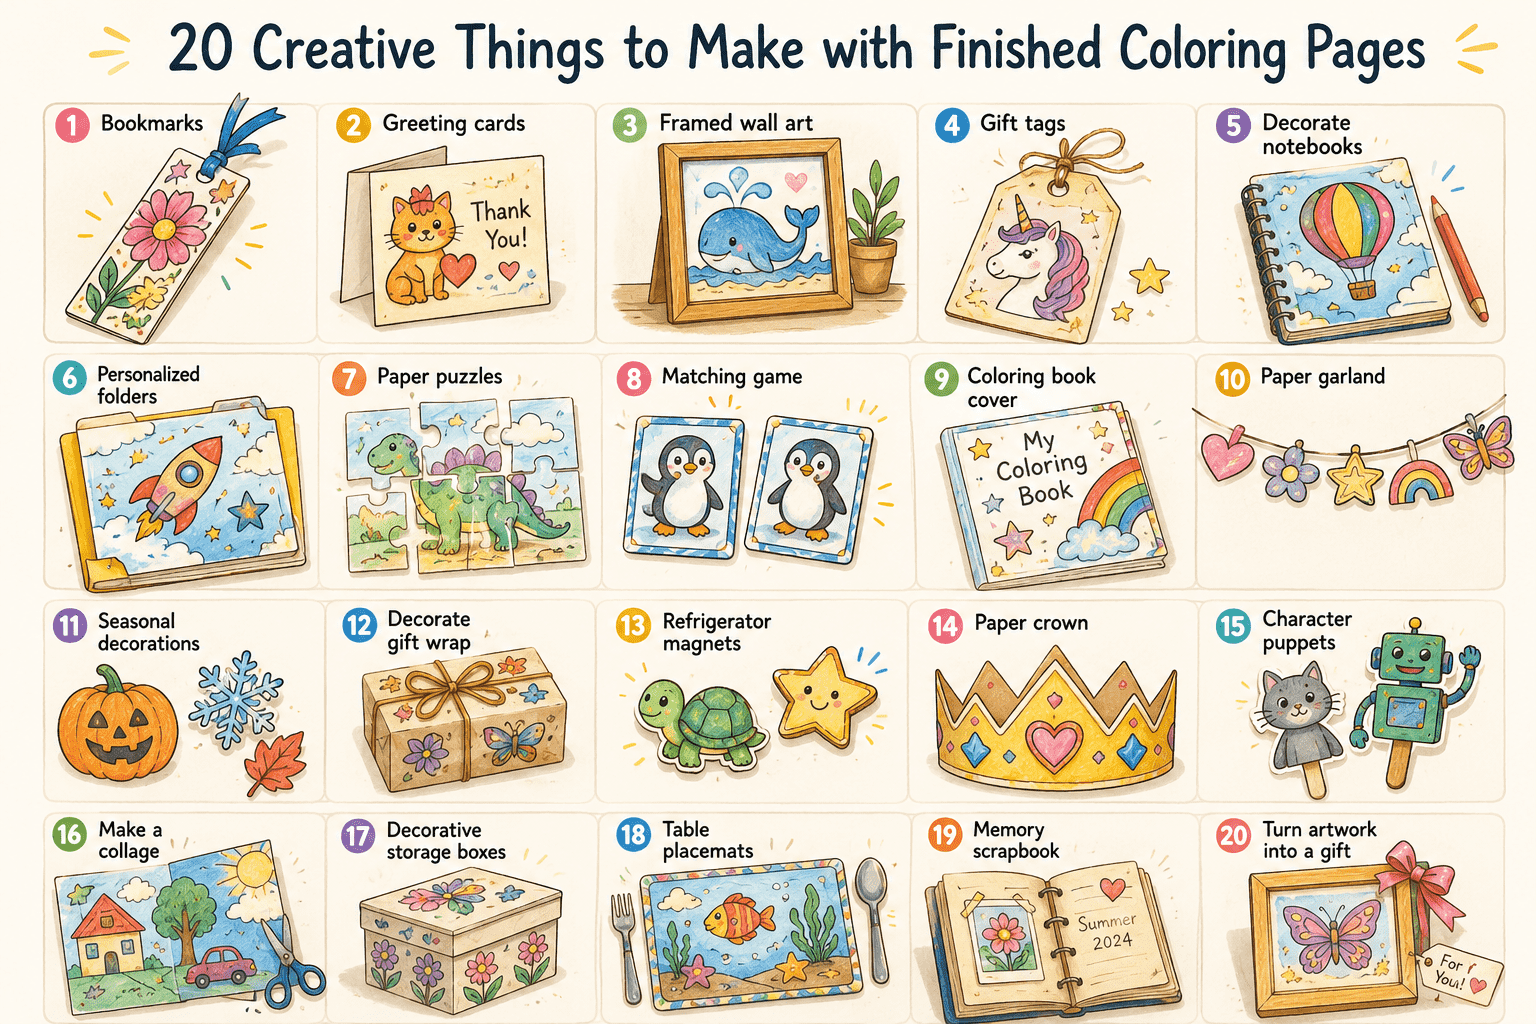
You don’t have to tuck finished coloring pages away in a drawer.
With scissors, glue, and a bit of creativity, children’s artwork can turn into something useful, decorative, or special. Even pages with scribbles, bold colors, or coloring outside the lines can become crafts you’ll want to keep.
Before you begin, let an adult handle sharp scissors, staplers, hot glue, or cutting tools. If your project needs sturdier pages, check out the tips in The Best Paper for Printing Coloring Pages at Home to pick a stronger paper before printing.
Here are 20 easy ways to give finished coloring pages a new purpose.
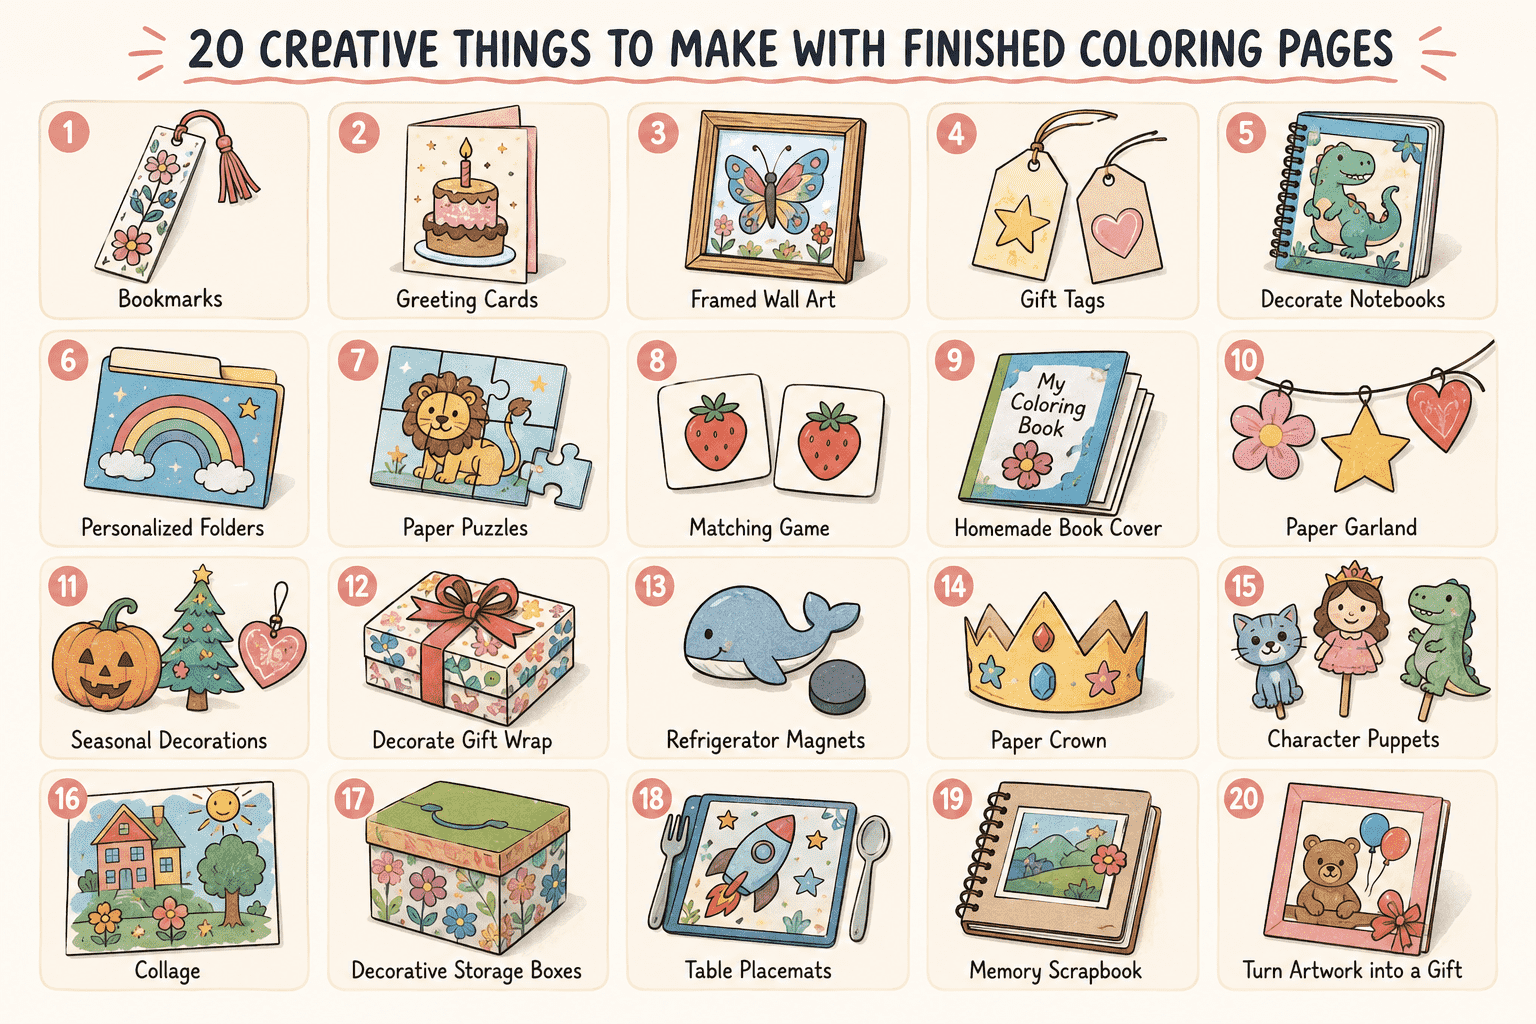
1. Turn them into bookmarks
Cut a colorful section into a long rectangle, glue it onto cardstock, and add a ribbon at the top. Smaller details such as flowers, animals, and patterns work especially well.
2. Make greeting cards
Fold a sheet of cardstock in half and attach part of the coloring page to the front. Add a handwritten message for a birthday, holiday, thank-you note, or family celebration.
3. Create framed wall art
Choose a favorite finished page, trim the edges, and place it in a simple frame. A group of matching pictures can become a small gallery wall in a child’s bedroom or play area.
4. Design homemade gift tags
Cut out small shapes or characters from the page, attach them to thicker paper, and punch a hole for string. Write the recipient’s name on the back.
5. Decorate notebooks
Glue a finished page onto the cover of a plain notebook or journal. Cover it with clear adhesive film to help protect it from everyday wear.
6. Make personalized folders
Children can decorate school folders, art folders, or storage envelopes with sections from their completed pictures. Add their name so each folder is easy to identify.
7. Create paper puzzles
Glue the coloring page onto cardstock and cut it into several large pieces. Young children may need only four to six pieces, while older children can handle more complicated shapes.
8. Make a matching game
Use two copies of the same coloring design. Cut out matching objects, place them face down, and take turns finding pairs.
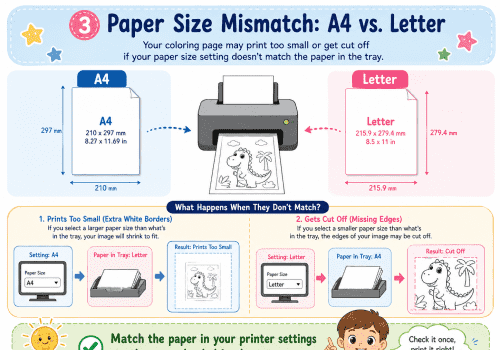
If you are preparing several identical pages, How to Print Coloring Pages at Home explains how to avoid scaling and paper-size problems.
9. Build a homemade coloring book cover
Use a completed page as the cover of a new activity book. Add blank drawing paper, puzzles, or unused coloring pages inside and bind everything together.
You can follow the steps in Turn Your Ideas into a Personalized Coloring Book to organize and assemble the book.
10. Create a paper garland
Cut out stars, flowers, animals, or other shapes and attach them to a ribbon or string. Hang the finished garland across a bedroom, classroom, or party table.
11. Make seasonal decorations
Turn finished pages into paper pumpkins, leaves, snowflakes, hearts, eggs, or holiday ornaments. Store them carefully and reuse them the following year.
12. Decorate gift wrap
Use a large completed page to wrap a small gift. For bigger packages, attach several colored sections to plain kraft paper.
This way, your wrapping paper feels personal and you don’t need to buy fancy supplies.
13. Make refrigerator magnets
Cut out a favorite part of the picture, glue it onto thick cardboard, and attach a small craft magnet to the back. Adults should handle strong adhesives and small magnet pieces.
14. Create a paper crown
Cut a long strip of cardstock, decorate it with images from the coloring page, and fit it comfortably around the child’s head. Add stars, animals, flowers, or a personalized name label.
15. Design character puppets
Cut out people, animals, robots, or fantasy characters and glue them onto craft sticks. Children can use them to invent stories or perform a small puppet show.
This simple activity helps kids keep building the storytelling and imagination skills mentioned in What Skills Can Children Practice Through Coloring? A Parent’s Guide.
16. Make a collage
Cut several completed pages into shapes and combine them on a new sheet. A child might create a garden from pages featuring different flowers or build an imaginary city from houses and vehicles.
Making a collage is a great way to use pages that are torn, unfinished, or not worth saving as they are.
17. Create decorative storage boxes
Glue colored pictures onto small cardboard boxes used for crayons, craft supplies, toys, or keepsakes. Apply a child-safe protective layer if the box will be handled frequently.
18. Make table placemats
Place a finished page between two laminating sheets or inside a reusable transparent sleeve. Children can use the result as a placemat during meals or creative activities.
19. Create a memory scrapbook
Save selected artwork in a scrapbook and add the date, the child’s age, or a short note about the picture. Over time, the book becomes a record of the child’s interests and changing coloring style.
You don’t have to keep every page. Picking a few special ones each month is usually enough.
20. Turn artwork into a gift
A finished page can become a thoughtful gift for grandparents, teachers, relatives, or friends. Frame it, turn it into a card, or add it to a handmade book.
Kids usually love giving something they made, especially if they help decide how to share it.
Let the Child Help Choose the Project
Adults may be tempted to select the neatest picture and decide what it should become. However, the child may value a different page entirely.
Ask simple questions:
“Which picture would you like to keep?”
“Should we turn this into a card or a bookmark?”
“Who would you like to give it to?”
When kids get to choose, they feel more proud of the project. It also shows them their art matters, even if it isn’t perfectly colored.
A Few Practical Tips
If a piece of art feels extra special, make a copy or snap a photo before you cut it up.
Put cardstock behind thin paper if you need your project to be sturdier. Washable glue sticks are often easier for kids than liquid glue, and clear folders help store unfinished crafts.
When choosing new pages for future crafts, match the picture to the child’s age and ability. How to Choose the Right Coloring Pages for Your Child’s Age offers practical guidance for selecting suitable designs.
Final Thoughts
Finished coloring pages can be used in more ways than you might think.
You can turn them into cards, bookmarks, puzzles, decorations, puppets, gifts, or keepsakes. It doesn’t have to be complicated. With just a few supplies, you can make something your child will be excited to use or give away.
Most importantly, these projects show kids their art is worth keeping, even if it isn’t perfect.